Start with a small, forgiving project
A stitched notebook is a good first bookbinding project because it needs only one folded stack of paper, called a signature. There is no glue to dry and no complicated cover to build. The result can serve as a pocket journal, a sketchbook or a place to collect ideas for another hobby. Aim for a notebook that opens comfortably rather than one that looks factory-made.
Gather four to six sheets of ordinary paper, one sheet of slightly heavier paper or thin card for the cover, a ruler, a pencil, a needle, strong sewing thread, and clips. You will also need a pushpin or awl to make holes and a piece of scrap cardboard to protect your work surface. A blunt needle is easier to handle if it fits through the holes; otherwise, use a sharp needle carefully. For your first attempt, choose paper that folds easily and avoid a thick stack.
Fold and arrange the pages
Fold each sheet in half, matching its edges before pressing down the crease. Run a fingernail or the back of a spoon along the fold to sharpen it. Fold the cover in the same direction. Nest the folded paper sheets inside one another, then place them inside the folded cover. This creates a booklet with a single spine running through the middle.
Check that the pages are facing the way you want before sewing. The inner sheets may extend a little beyond the cover or step out at the open edge; this is normal in a folded stack. You can leave that edge as it is. If a tidy edge matters to you, make a thinner notebook next time or trim it later with suitable tools rather than trying to cut a thick stack at once. Hold the booklet closed with clips near the top and bottom, keeping the spine accessible.
Mark three holes and prepare the thread
Open the booklet to its center. Along the inside fold, mark one hole near the middle and two more spaced evenly toward the top and bottom. Leave enough paper beyond the outer marks that the stitching will not tear through the ends. Make sure your pencil marks sit directly in the crease; holes off to one side can make the cover pull unevenly.
Rest the open booklet on scrap cardboard. Press the pushpin or awl straight through each mark, working away from your fingers. If the tool struggles to pass through all the layers, pierce a few sheets at a time while keeping the folds aligned. Check from the outside that all three holes are visible through the cover. Cut a length of thread roughly three times the spine length and thread the needle. Leave a short tail at the free end instead of tying a knot.
Sew the three-hole pamphlet stitch
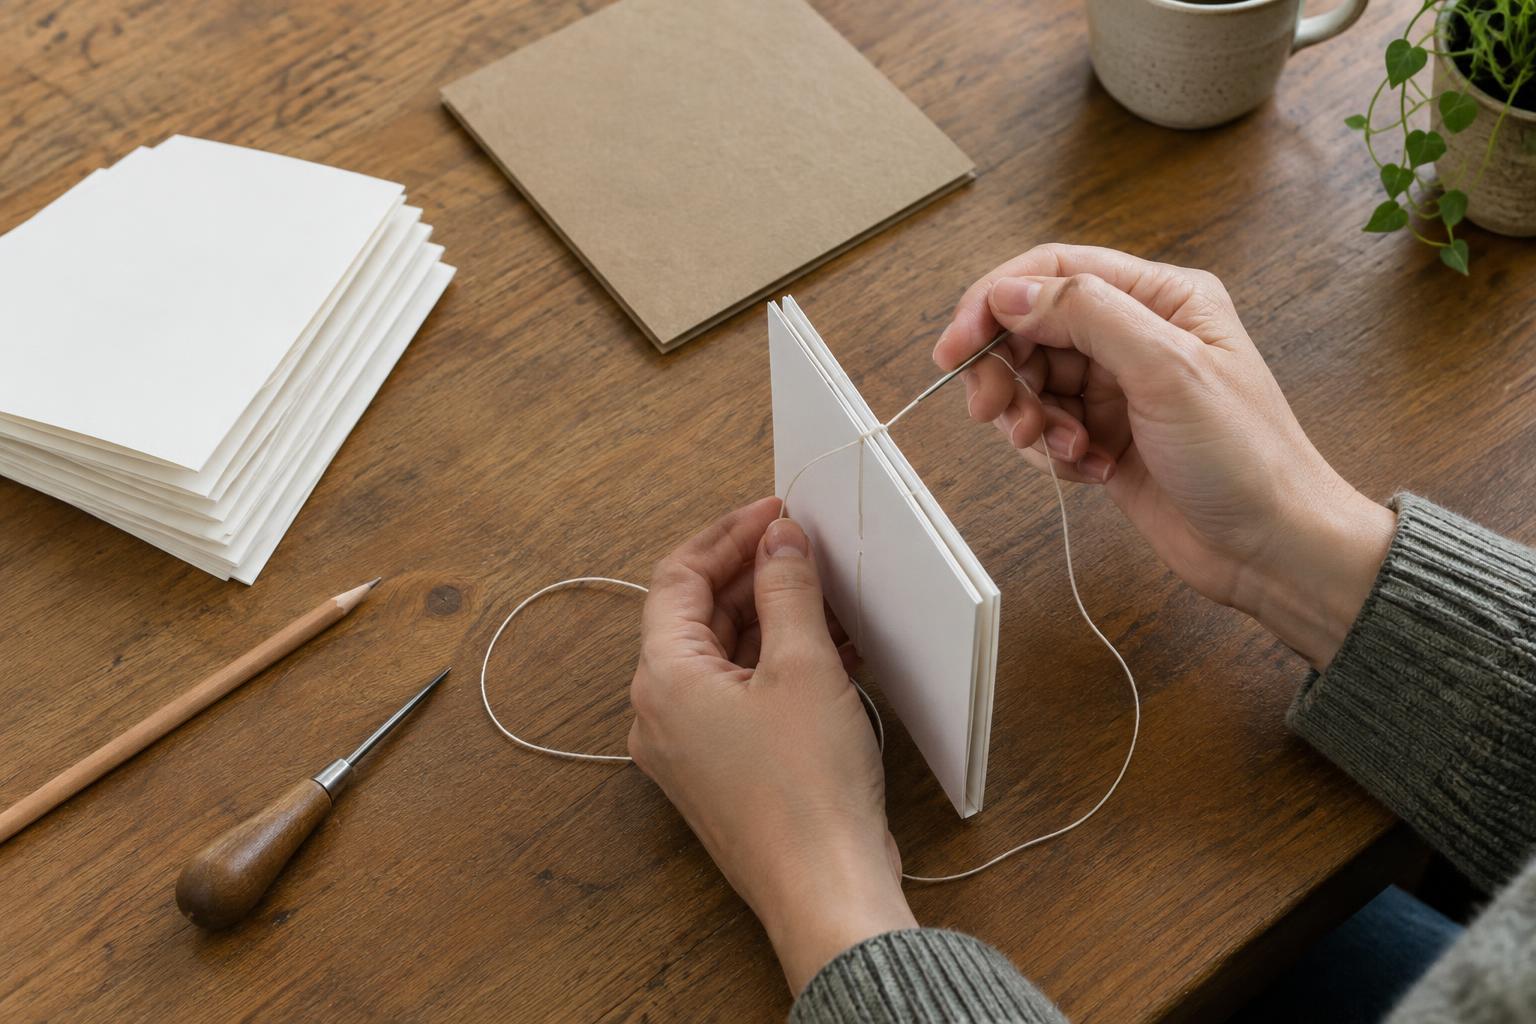
Start from inside the notebook at the center hole. Push the needle through to the outside, leaving a tail inside long enough to tie later. From outside, take the needle through the top hole to the inside. Carry the thread along the inside fold to the bottom hole and pass the needle through to the outside. Finally, return through the center hole to the inside.
You should now have both thread ends inside the notebook and a long strand running between the top and bottom holes. Gently pull the ends until the stitching is snug, not so tight that it cuts into the paper. Position one end on each side of the long strand and tie them together around it with a secure double knot. Trim the ends to short tails. If a stitch looks loose, ease the slack toward the thread ends before tying rather than tugging sharply at one hole.
Check the result and make the next one better
Close the notebook and open it a few times. The pages should turn freely, and the cover should sit close to the paper at the spine. A cover that buckles may mean the thread is too tight. If the holes do not line up or the thread tears a hole, it is often simpler to remove the stitching and remake a thinner booklet than to force the pieces together.
Once the basic version works, change one feature at a time. Try different paper for writing or sketching, a reused card cover, or a taller, narrower page shape. Keep a quick note of the paper count and thread length you used. That small record turns a one-off craft exercise into a repeatable skill—and makes it easier to build a notebook that suits how you actually plan to use it.