Start with a small collection
Paper collage begins with noticing what is already available. Packaging, envelopes, magazine pages, old calendars, paper bags, and scraps from other projects can all offer useful colors or surfaces. Look beyond printed images: the plain inside of an envelope may provide a quiet background, while a torn edge or a patch of tiny lettering can add detail.
For a first piece, choose a base such as a sheet of sturdy paper or the back of a cereal box. Gather a modest pile of scraps, scissors, a glue stick, and a pencil. Check that the materials are clean and dry. If an interesting piece is glossy, thick, or curled, keep in mind that it may need extra pressure to lie flat. A limited selection makes it easier to decide what belongs in the composition.
Give color a simple job
You do not need a perfect color scheme before you begin. Pick one color to appear several times, one or two colors to support it, and a neutral area where the eye can rest. For example, pieces of blue packaging could recur across the page, with small orange accents and broad areas of brown paper. Repetition helps separate scraps feel related, even when they come from different sources.
Spread the pieces out before gluing and notice their relative size. A large, bright shape will usually attract more attention than a small, muted one. If every piece is equally vivid, try removing a few rather than adding more. You can also turn a printed scrap over to use its quieter side. Treat the color plan as a guide, not a rule; an unexpected piece may improve the arrangement.
Arrange first, attach later
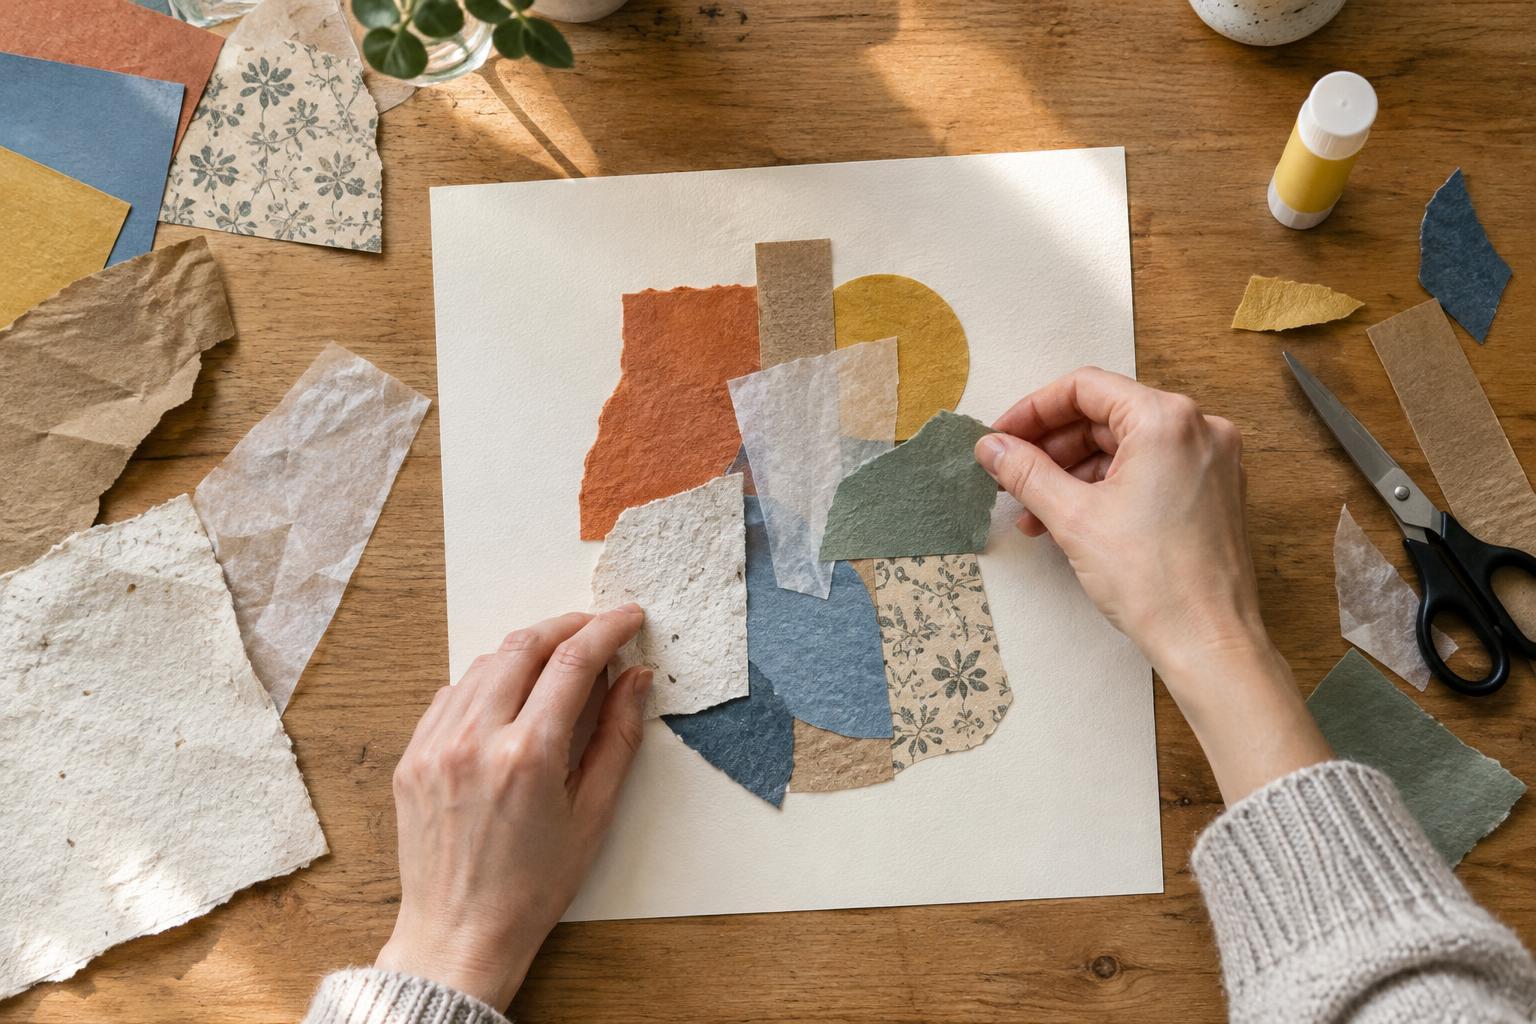
Begin with two or three larger pieces to establish the main shapes. Move them around the base and look at the spaces between them. Those empty spaces are part of the collage: they can keep a busy cluster readable or create a path for the eye to follow. Try placing a group near one edge, then moving it toward the center. Notice which version feels more settled or more energetic.
Take a quick photo of an arrangement you like before changing it. Then try a second version by rotating one shape, overlapping two pieces, or leaving a wider gap. Comparing the versions is often more useful than asking whether either one is “right.” When you are ready to glue, lift and attach a few pieces at a time, starting with those that sit underneath others.
Use texture and layers with purpose
Texture can come from corrugated packaging, tissue paper, newsprint, handwriting, or the difference between a cut edge and a torn one. Put rough and smooth surfaces near each other to make both more noticeable. Thin, translucent paper can soften a bold image beneath it; a dense piece of card can create a firm boundary. Test these effects by laying scraps over one another before committing to glue.
Layers also affect how clearly a piece reads. If a favorite detail disappears under several scraps, uncover part of it or move it to the top. If the composition feels flat, allow one shape to cross the boundary between two others. Press glued pieces gently from the center outward, using a clean sheet of scrap paper over them if needed. Let the collage dry flat before judging whether it needs another layer.
Try a fifteen-piece exercise
To practice without chasing a finished masterpiece, select fifteen scraps and use only those pieces for one small collage. Include at least one plain piece, one piece with text or a pattern, and one with a distinct texture. Arrange the largest shapes first, repeat a color in two or three places, and leave some of the base visible. You may cut or tear the selected pieces, but avoid adding more materials halfway through.
Once the glue is dry, look at the result from arm’s length. What draws your eye first? Where does it travel next? If one area feels crowded, consider what you would remove in a second version. Save any offcuts that still interest you. Collage builds skill through these small observations: choosing, moving, covering, revealing, and trying again with a clearer sense of what each piece contributes.