Start with a small, simple project
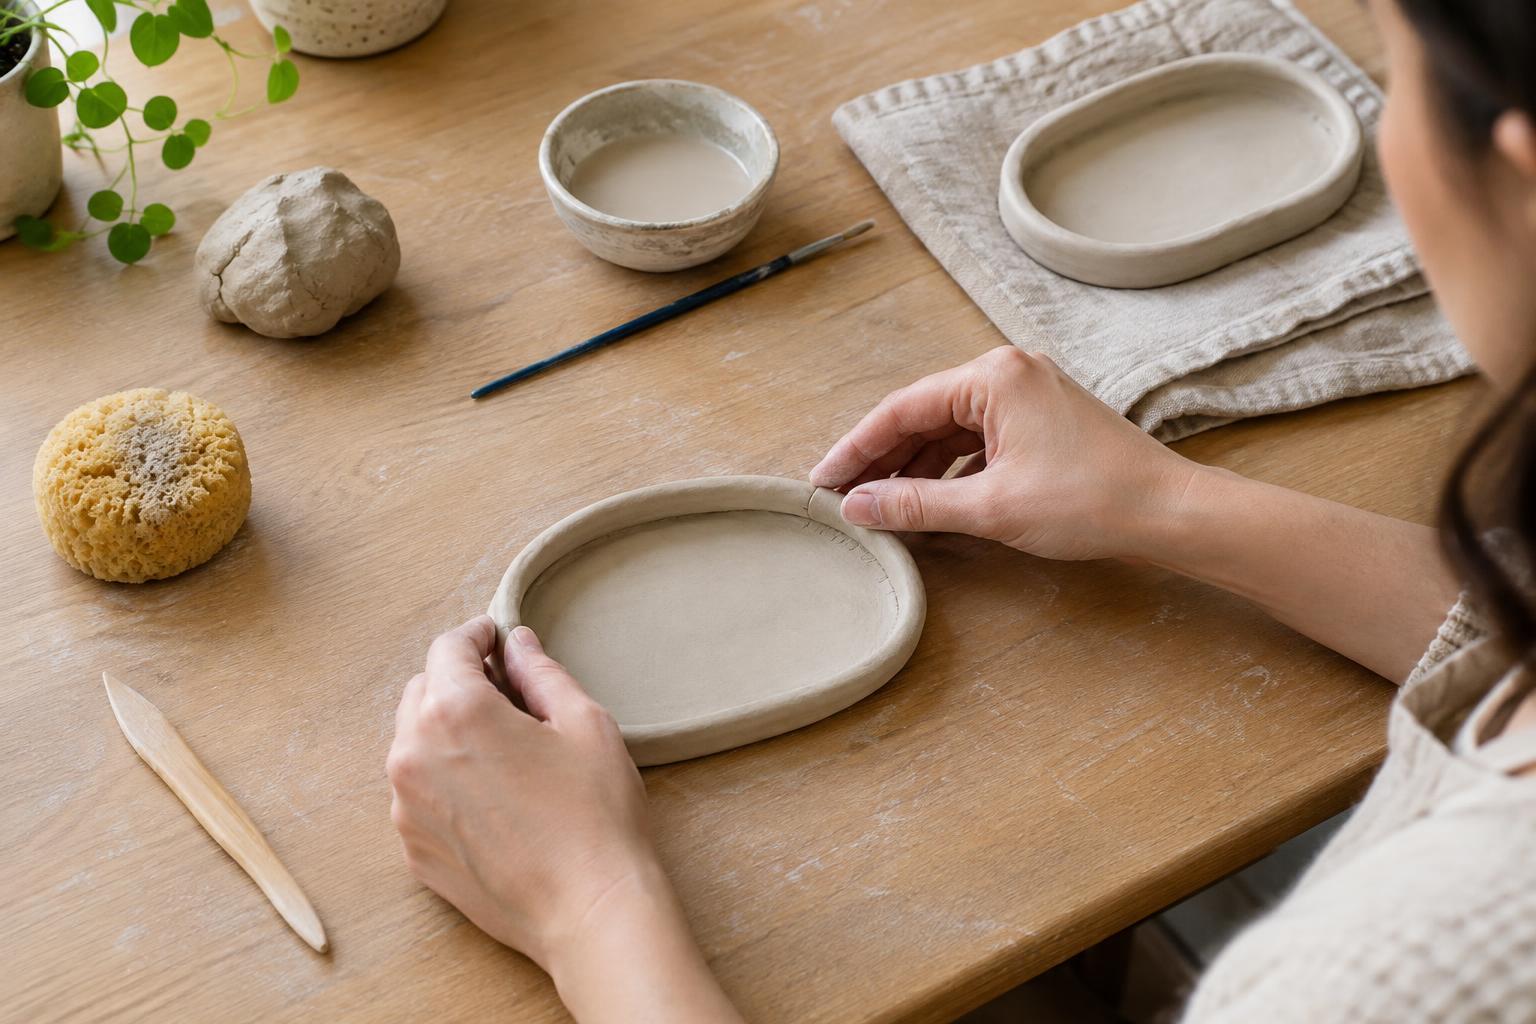
A shallow trinket tray is a manageable first project. It has a flat base, a low rim, and no tall parts that must support their own weight. You can use it to hold keys, clips, or other dry items once it is finished. Air-dry clay varies by brand, so check the package for handling and drying directions before you begin. Unless the product specifically says otherwise, do not assume the finished tray is food-safe or waterproof.
Set out a small piece of clay, a smooth work surface, a rolling pin or straight-sided bottle, a blunt knife or clay tool, and a little water. A piece of baking parchment or another surface the clay will release from can make the tray easier to move. Keep the unused clay sealed while you work; exposed clay can stiffen before you are ready to shape it.
Shape an even base and a low rim
Knead the clay briefly until it feels workable, then roll it into a slab. Aim for a fairly even thickness rather than a precise measurement. Very thin spots are more fragile, while a thick patch beside a thin one may dry at a different rate. Cut a small circle, oval, or rounded rectangle for the base. Lift and turn it carefully to check that it has not stuck to the work surface or stretched out of shape.
For the rim, roll a short coil of clay with gentle, even pressure. Place it around the edge of the base without pulling it tight. If the coil is too short, make a new one rather than stretching it into a thin, weak section. Keep the rim low for this first attempt. You can also round the outside edge of the base with a fingertip so it feels smoother to handle.
Join the pieces instead of just pressing them together
A coil laid on top of a slab may look attached but separate as it dries. To make a stronger join, lightly scratch the contact areas on both pieces with a clay tool or the tip of a blunt knife. Add a small amount of water to those scratched areas, then press the coil into place. Some clays work well with a paste made from a little of the same clay and water; follow the package guidance if it gives a preferred joining method.
Blend the inside edge of the coil into the base with a fingertip or tool, working around the tray a little at a time. Support the outside of the rim with your other hand so you do not flatten it. Smooth the outer join too, while leaving enough clay in place to hold the pieces together. Water can help your finger glide, but use it sparingly: soaking the surface may turn it mushy and make the shape harder to control.
Let the tray dry gradually
Set the tray on a level surface where it will not be disturbed. Avoid trying to speed drying with strong heat unless the clay instructions explicitly allow it. Drying time depends on the product, the thickness of the clay, and the room conditions. Rather than relying only on a clock, wait until the tray feels dry throughout and no darker, cool-feeling patches remain. A firm surface does not always mean the thicker parts are dry inside.
If the base begins to curl, avoid forcing it flat while it is partly dry; that can cause a break. For a future tray, try a more even base and a less bulky rim. Once the piece is firm enough to handle without bending, you may be able to turn it over so the underside can dry, but move it gently and follow any product-specific guidance. Give it additional time if you are unsure whether it is ready for finishing.
Finish it, then learn from the result
When the tray is fully dry, you can smooth small rough areas with fine sandpaper if the product permits sanding. Work gently and clean up the dust afterward. You may choose to paint or seal the tray using products suitable for your clay, allowing each layer to dry as directed. A decorative finish does not automatically make air-dry clay safe for food or for holding water.
Look closely at the finished object before making another. If the rim separated, spend more time scoring and blending the join next time. If an edge cracked, check whether that area was thinner than the rest or dried too quickly. If the tray warped, try a smaller shape with a more even base. One modest object gives you a useful way to practice; the next one is a chance to change just one or two things.