Start with paper you can learn from
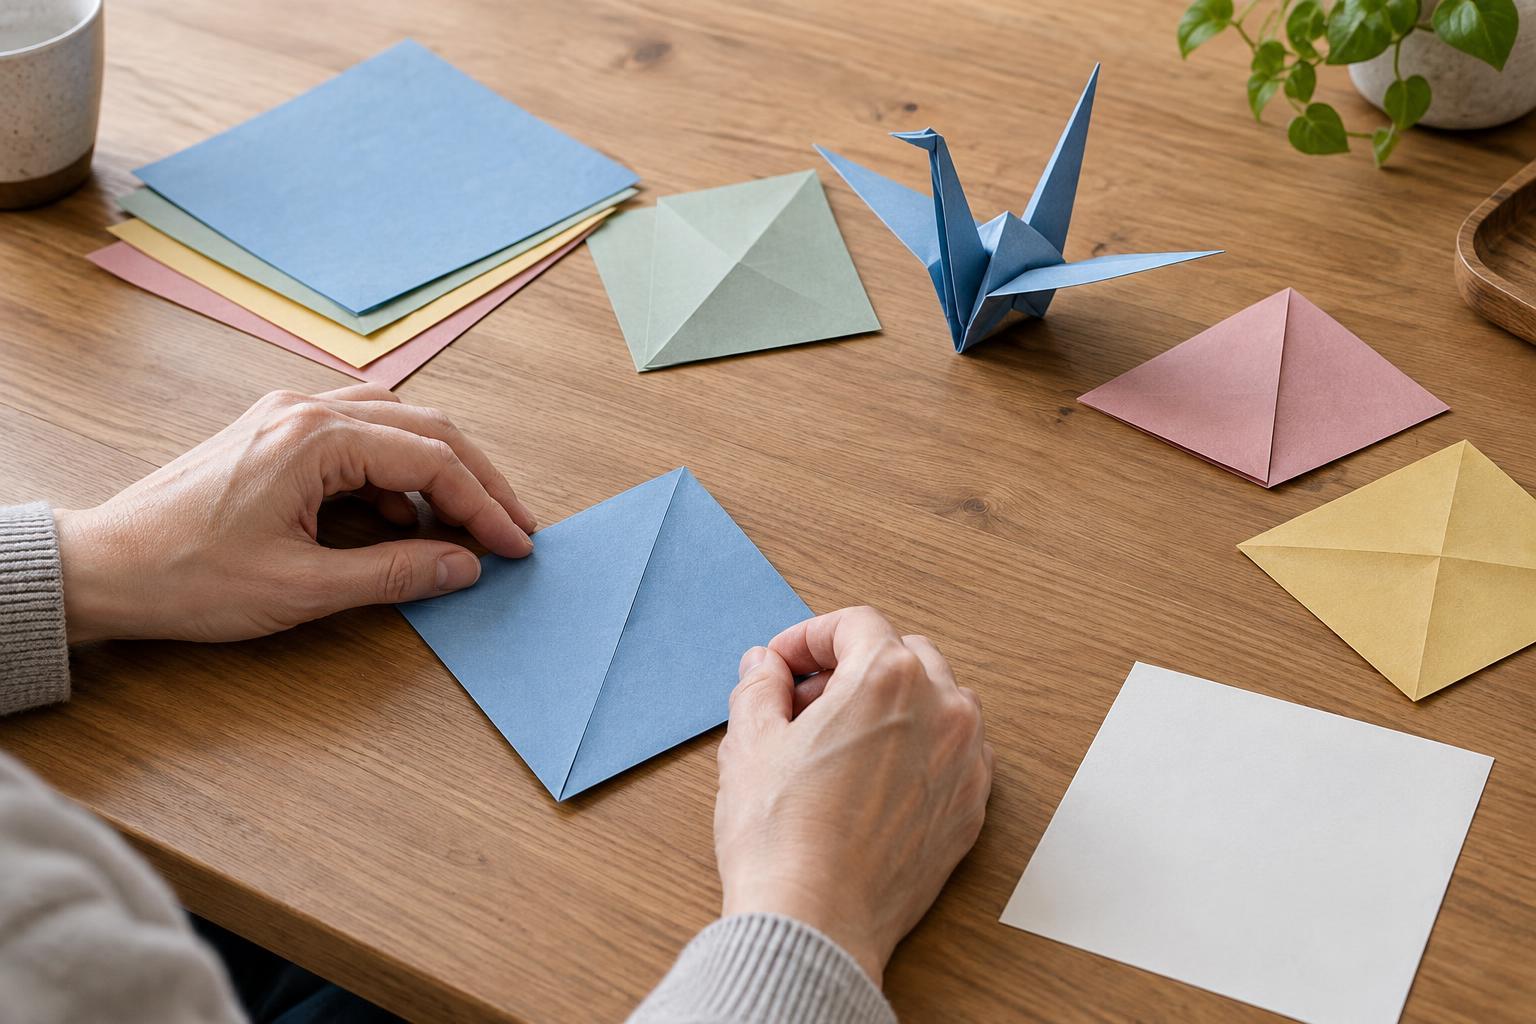
A square sheet and a clear diagram are enough to begin. Thin paper is usually easier to fold neatly than stiff card, especially when several layers will overlap. Paper with different colors on its two sides can also help you notice when a step turns the sheet over or exposes a new surface. A larger square gives your fingers more room to place a fold accurately.
Before folding, look through the entire diagram once. Find the starting position, notice whether the colored side faces up or down, and check how many steps the model has. You do not need to understand every move yet. The preview helps you spot turns and flips that might otherwise make the paper appear to change position unexpectedly.
Read one diagram step at a time
Most origami diagrams show the paper’s current shape, a line or arrow indicating what to do, and the shape you should have afterward. Focus on one change at a time. Identify the part that moves, the line it folds along, and the edge or point it should meet. Then compare your result with the next drawing before continuing.
A valley fold brings part of the paper toward you along a crease, leaving a valley-like groove when viewed from above. A mountain fold bends it away, forming a ridge. Diagram styles differ, but valley folds are often marked with broken lines and mountain folds with a different pattern of dots and dashes. Always check a diagram’s key when one is provided rather than relying on the line pattern alone.
Arrows carry important information too. A curved arrow may show the direction a flap moves; an arrow looping around the model often means to turn it over. A rotation arrow changes the model’s orientation without flipping it. If a later picture seems impossible, pause and check whether you missed one of these instructions. More advanced diagrams may ask you to open a pocket or reverse an existing crease. It is fine to set those models aside while you become comfortable with basic folds.
Make accuracy a sequence, not a squeeze
A clean fold begins before you press it flat. Put the paper on a firm, smooth surface. Bring the specified corners or edges together gently, holding the alignment with one hand. Check both ends of an edge before setting the crease: matching one corner does not guarantee that the whole edge is straight. Once the paper is positioned, press near the aligned points and run a fingertip along the fold.
Avoid making a sharp crease while the paper is still sliding into place. If the alignment looks wrong, open the sheet and adjust it first. A badly placed crease can remain visible after you correct it, but that is part of practice, not a reason to abandon the model. Try to keep pressure steady rather than repeatedly rubbing one spot, which can wrinkle or weaken the paper.
Accuracy matters most where later folds depend on an earlier reference line. A central crease, for example, can guide several points toward the same location. Take extra time with these foundation folds. For a decorative final flap, a tiny mismatch may matter less than it would at the start.
Practice with a small folding drill
Use a square sheet to rehearse the movements without trying to complete a model. First, fold it in half edge to edge, aligning both corners before creasing. Open it. Next, fold it along a diagonal, matching one corner to the opposite corner, and open it again. Notice how the creases cross and how easy it is to see whether each fold passes through the center.
On a fresh square, fold two opposite edges toward the center line. Work slowly enough to leave little or no gap between them, without letting the edges overlap. Then try folding one corner to a point marked by a crease. This last movement trains you to read a reference point instead of guessing where a flap should land. Repeat the drill with another sheet if you want to compare your alignment; the goal is consistent placement, not a perfect-looking page.
Use mistakes to locate the missed step
When a model stops matching the diagram, look back to the last shape that did match. Check its orientation, which side of the paper is visible, and whether a layer should be folded separately from the layers beneath it. Gently opening the most recent fold is usually more useful than forcing the paper into the next pictured shape.
Choose early models with clear drawings and relatively few steps, then keep a finished attempt beside a new one. You may notice that your second version improves simply because you recognize the turns and reference creases sooner. Origami rewards careful observation as much as careful hands: read the change, position the paper, crease it, and check the result before moving on.