Start with a small practice design
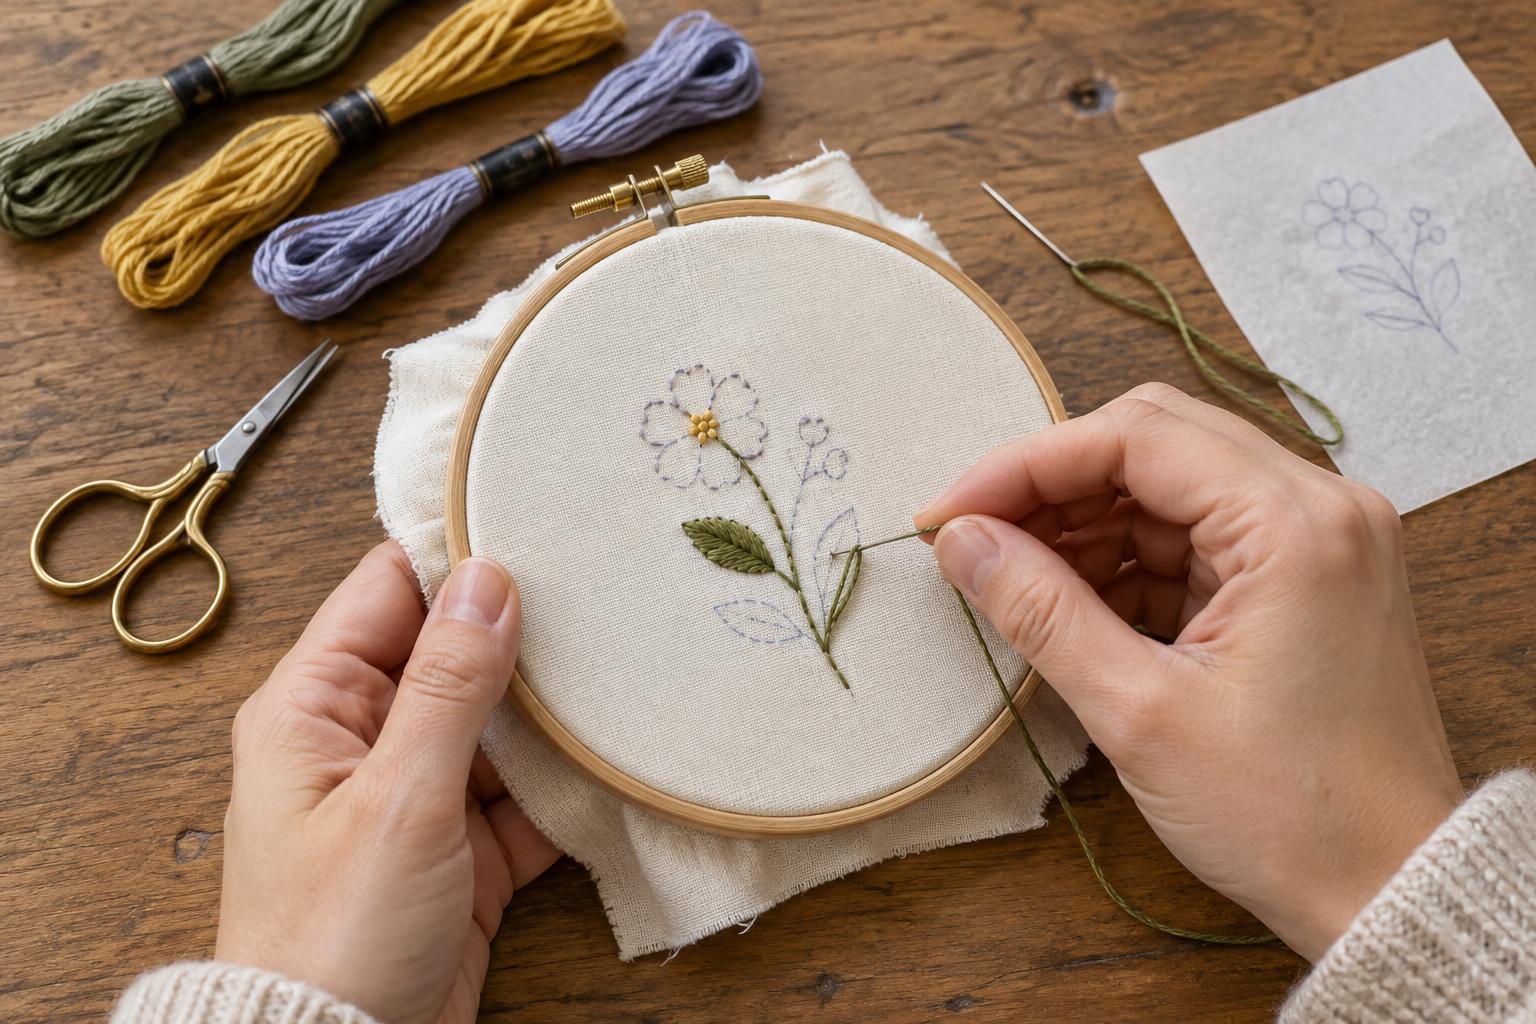
Your first embroidery project does not need to become a finished decoration. A practice piece lets you find a comfortable way to hold the hoop, control thread tension and learn what happens when a stitch goes wrong. Draw a simple design with a curved line, a short word or outline, and one small shape to fill. Each part gives you a reason to try a different stitch without managing a complicated pattern.
Choose a firm, plain woven fabric such as cotton, and cut it several centimeters larger than your embroidery hoop on every side. You will also need an embroidery needle, embroidery floss, small scissors and a way to mark the design. If the fabric is thin or stretchy, it may be harder to keep stitches even; save it for a later project. Before stitching, wash and dry the fabric if you expect to wash the finished piece.
Transfer the pattern without making it permanent
For light-colored fabric, place the pattern beneath it and hold both against a bright window or light pad. Trace the visible lines with a fabric-marking tool, using a light touch. If the lines are hard to see, tape the paper and fabric in place before tracing so they cannot shift. Keep outlines simple: tiny details can disappear under thread or become difficult to follow.
For darker or thicker fabric, dressmaker’s transfer paper can place a design on the surface. Put the transfer paper between the pattern and fabric, with its marking side facing the fabric, then trace the lines with a blunt pencil or stylus. Check a small section before tracing everything. Whichever method you use, test the marker or transfer paper on a scrap of the same fabric first. Follow its removal instructions; some marks may resist washing or reappear after heat is applied.
Set up the hoop and thread
Loosen the hoop screw and separate the two rings. Lay the inner ring beneath the fabric, center your design above it, then press the outer ring over both. Tighten the screw and gently pull the fabric edges until the working area feels smooth and firm. The fabric should not sag, but pulling so hard that it distorts the weave can make stitching awkward.
Embroidery floss usually separates into strands. For this practice piece, try two or three strands for lines and three or four for the filled shape; adjust if the result looks too fine or bulky on your fabric. Cut a manageable length rather than a very long one, which is more likely to tangle. Thread the needle and leave a short tail. To start, you can hold the tail against the back of the fabric and secure it beneath your first few stitches. Avoid pulling so tightly that the fabric puckers.
Practice three stitches with different jobs
Use running stitch on the curved line. Bring the needle up from the back, move a short distance along the line and take it down. Bring it up again after a similar gap. Repeat, aiming for a rhythm rather than perfect measurements. You can make several stitches at once by weaving the needle through the fabric, but working one stitch at a time may give you more control around a curve.
Use backstitch to outline the word or another clear line. Bring the needle up one stitch-length ahead of the starting point, then take it down at that point. Bring it up another stitch-length ahead and return to the end of the previous stitch. The small stitches meet to form a nearly continuous line. If your letters have tight corners, shorten the stitches there so the outline follows the shape.
Use satin stitch to fill the small shape. Bring the needle up at one edge and take it down at the opposite edge, laying the thread flat across the surface. Repeat with adjacent stitches, keeping their direction consistent. A narrow leaf or simple oval is easier to fill than a large area. If the fabric begins to pucker or the stitches bunch up, pause and loosen your pull before continuing.
Finish, inspect and try again
To end a thread, turn the hoop over and pass the needle beneath several stitches on the back, then trim the tail. Remove transfer marks according to the product instructions, taking care not to assume that every marker disappears with water. Let the fabric dry before judging how the stitches sit.
Look over the piece for one thing you like and one thing to practice next. Perhaps your backstitch follows the line well, while your satin stitches could sit closer together. That is useful information, not a failed project. Keep the sample as a reference and make another small design when you are ready to experiment with stitch length, thread thickness or color.