Choose supplies and a small goal
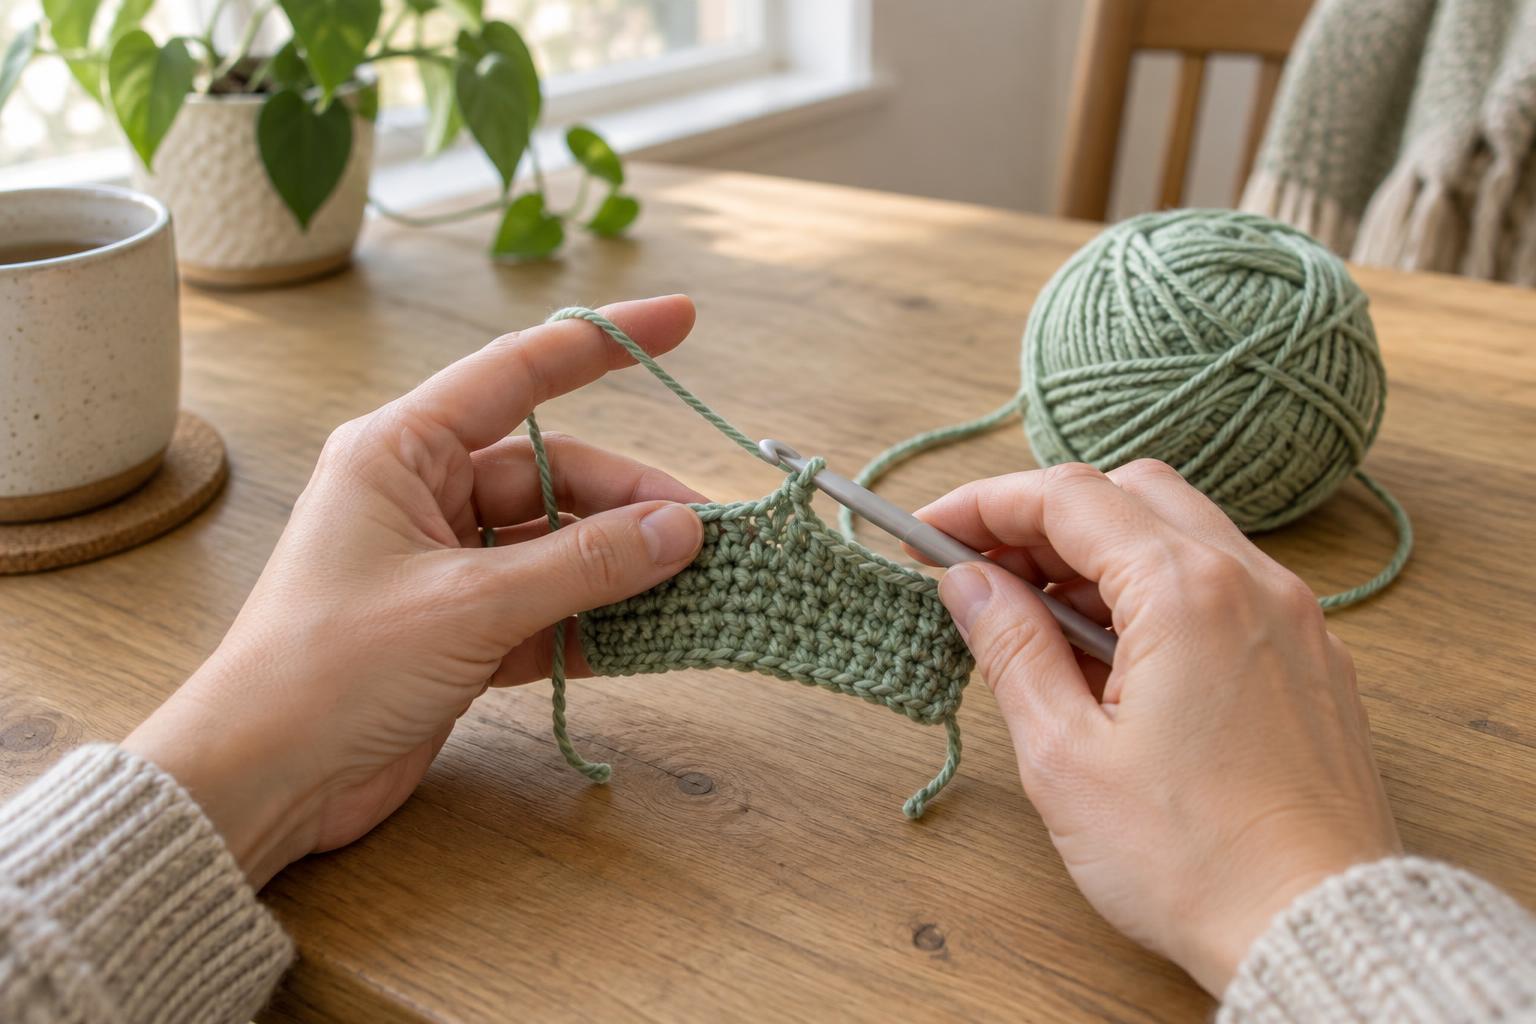
A square is a useful first knitting project because you can repeat one stitch without also managing a pattern. You will need a ball of yarn, a pair of knitting needles, scissors, and a blunt yarn needle for hiding the ends. Choose smooth, light-colored yarn if you can: it makes individual stitches easier to see than fuzzy or very dark yarn. The yarn label usually suggests a suitable needle size.
For a practice square, begin with about 20 stitches. The exact number is not important; it simply gives you enough fabric to see your progress without making the project long. Your first square may have uneven edges or stitches of different sizes. Treat it as a way to learn what your hands are doing.
Make a slip knot and cast on
Start with a slip knot. Make a loop in the yarn, pull a small loop of yarn through it, and place that new loop on one needle. Leave a short tail for finishing later. Gently pull the working yarn—the strand attached to the ball—until the loop sits on the needle without gripping it tightly. This loop counts as your first stitch.
To use a knitted cast-on, hold the needle with the slip knot in your left hand. Put the tip of the empty right needle into the front of the loop, moving from left to right as if you were about to knit it. Wrap the working yarn around the right needle and draw a new loop through. Instead of letting the original loop fall off the left needle, place the new loop onto the left needle beside it. You now have two stitches.
Repeat by making a new loop through the stitch nearest the tip and placing it on the left needle. Stop when you have about 20 stitches. If the stitches are difficult to move, you may be pulling the yarn too tightly. Aim for loops that stay on the needle but can still slide along it.
Work the knit stitch across each row
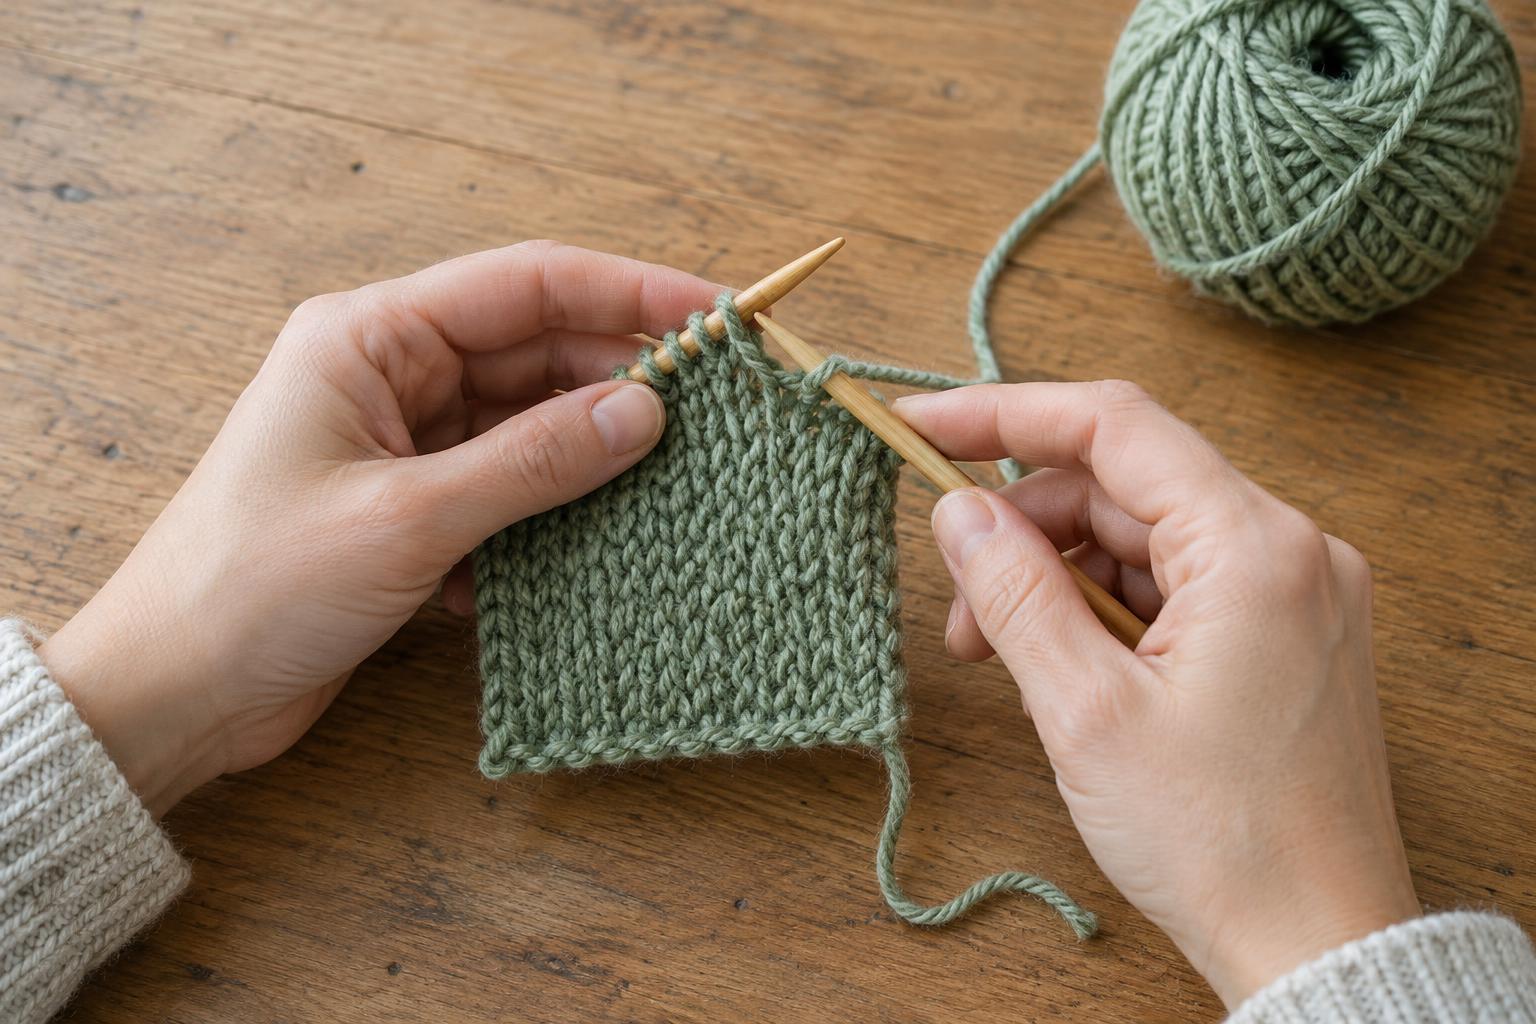
Hold the needle carrying your stitches in your left hand and the empty needle in your right. Keep the working yarn behind the needles. Insert the right needle tip into the front of the first stitch on the left needle, from left to right. Wrap the working yarn around the right needle, pull the new loop through the stitch, and let the old stitch slide off the left needle. One stitch has moved to the right needle.
Continue across the row, working each stitch once. When all the stitches are on the right needle, switch that full needle to your left hand and begin again. Knitting every row produces a ridged fabric called garter stitch. Pause after a few rows and look at the fabric: you should be able to see rows of small bumps forming.
Count your stitches occasionally. If the number grows, check that you are not wrapping the yarn over the needle between stitches or working into both strands at the start of a row. If you lose a stitch or make an uneven row, you can keep practising on the same square. It does not need to be flawless to teach you the movements.
Decide when the square is tall enough
After several rows, lay the fabric flat without stretching it. Compare its height with its width and keep knitting until the two look roughly equal. The cast-on edge and the stitches on your needle may make the shape a little hard to judge, so an approximate match is enough. A ruler can help, but you do not need a precise measurement for a practice piece.
Try to work at a comfortable pace rather than tightening each stitch to make it look uniform. Consistent movement often becomes easier with repetition. If your hands feel tired, set the project down and return to it later.
Bind off and hide the ends
To secure the final edge, knit two stitches onto the right needle. Use the left needle tip to lift the first of those stitches up, over the second stitch, and off the right needle. One stitch remains on the right needle. Knit the next stitch, then lift the older stitch over the newer one. Repeat until only one stitch remains.
Cut the working yarn, leaving a tail long enough to thread through a yarn needle. Pull the tail through the last loop and snug it gently. Thread each loose end through several stitches on the back of the square, changing direction once so it is less likely to slip free, then trim any excess. Your finished square can serve as a record of your first attempts—and a reference when you start another.