Set up a small practice kit
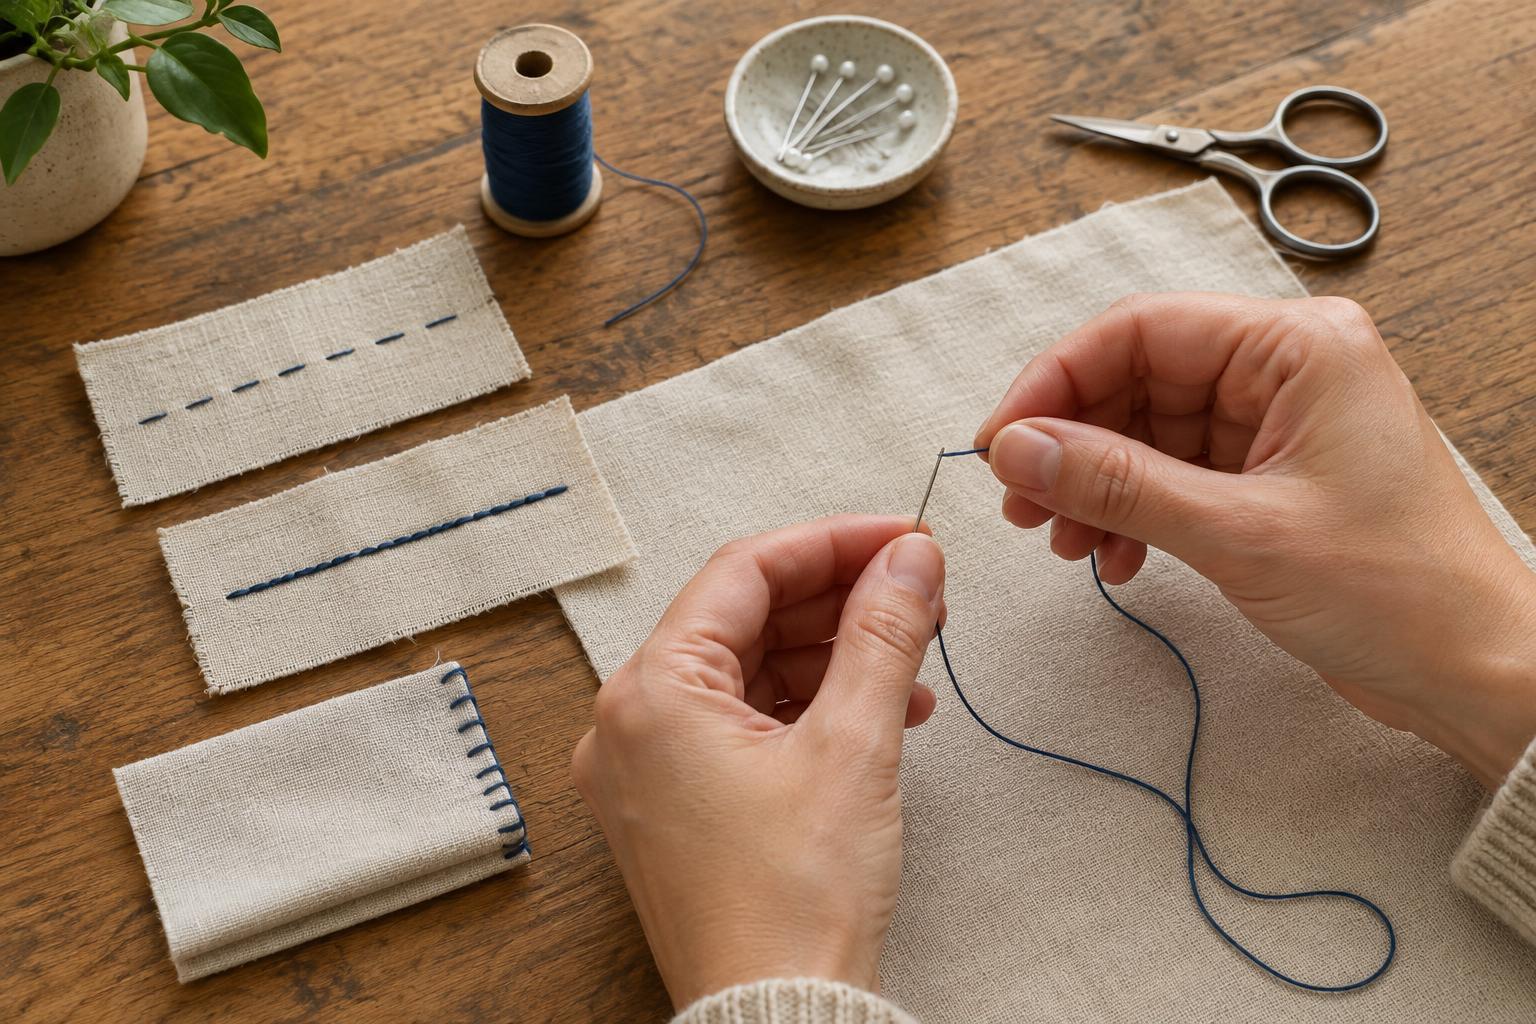
You do not need a full sewing kit to learn hand stitches. Start with a hand-sewing needle, all-purpose thread, scissors and a piece of woven fabric that does not stretch much. A scrap of cotton is easier to handle than slippery or thick material. A pencil or washable fabric marker can help you draw straight practice lines.
Choose a needle whose eye is large enough for your thread but whose point passes through the fabric without forcing it. Work in good light, and put the needle in a pincushion or another secure place whenever you pause. If pushing it through fabric becomes uncomfortable, a thimble can help protect your finger.
Before starting a stitch, place two pieces of fabric together if you want to practice joining them. If you are only learning the motion, one layer is fine. The aim is not perfect spacing on the first try. It is to notice where the needle enters and exits, how firmly you pull, and whether the fabric stays flat.
Thread the needle and start securely
Cut a length of thread about as long as your forearm. Very long thread may seem efficient, but it is more likely to tangle as you sew. Make a clean cut at one end, hold that end close to its tip and guide it through the needle’s eye. If the end separates into fibers, trim it again. A needle threader is a useful option if the eye is hard to see or hold steady.
Pull several inches through the eye so the needle will not slip off immediately. For most practice stitches, leave one long working strand and one short tail. Tie a small knot at the far end of the long strand. Push the needle up from the back of the fabric so the knot rests on the side that will be hidden. For a sturdier practice seam, you can fold the thread in half after threading and knot both ends together.
As you sew, pull each stitch until it lies against the fabric, then stop. Pulling harder can gather the material into wrinkles. If the thread twists into loops, let the needle hang briefly so the thread can untwist.
Use running stitch for simple lines and gathering
Running stitch is a series of small, separate dashes. Bring the needle up through the fabric, move a short distance forward, and put it down. Bring it up again another short distance along the same line. Repeat, keeping the gaps and stitches roughly even. You can also weave the needle in and out several times before pulling the thread through, provided the fabric is easy to control.
This stitch is useful for temporary tacking, light seams and decorative lines. To practice, draw a line on a scrap and sew along it for several inches. First concentrate on following the line; then try making the stitches similar in length. If you leave the stitches slightly loose and pull the thread afterward, the fabric will gather. For a seam that needs to resist pulling, choose a stronger stitch instead.
Use backstitch when a seam needs more strength
Backstitch looks like a mostly continuous line on the front of the fabric. Bring the needle up a short distance from where the seam begins. Insert it back at the starting point, then bring it up ahead of the first stitch. Insert it down where the previous stitch ended. Continue by moving forward underneath the fabric and backward on top.
Draw short, evenly spaced marks to practice this sequence. It can help to think, “come up ahead, go back to meet the last stitch.” Backstitch works well for small repairs or seams that need to hold more firmly than running stitch. Keep the stitches modest in length and avoid pulling so tightly that the seam puckers.
Use whip stitch on an edge, then finish your work
Whip stitch joins edges with thread that wraps around them. Hold two fabric edges together. Bring the needle through both layers near the edge, carry the thread around the outside, and bring the needle through again a little farther along. Repeat to make a row of diagonal stitches. This is handy for closing a small opening or attaching a simple patch where a visible edge stitch is acceptable.
For a short exercise, sew two scraps together with each of the three stitches and compare them. Notice which lies flat, which forms a continuous line, and which wraps around an edge. At the end of a practice seam, make two small stitches in the same place on the less visible side, pass the needle through a nearby loop of thread, and pull gently to secure it. Trim the excess thread, leaving a small tail. These basic motions become easier to control with repetition, so a few short practice seams are more useful than rushing through one long project.