Start with an activity, not a shopping list
A creative hobby is easier to start when you know what you want to do for an hour, rather than what equipment you want to own. Think about activities that appeal to you: sketching everyday objects, writing short scenes, making collages, taking photographs, or decorating a notebook. Pick one you could try at home this week. You can always change direction after a few sessions.
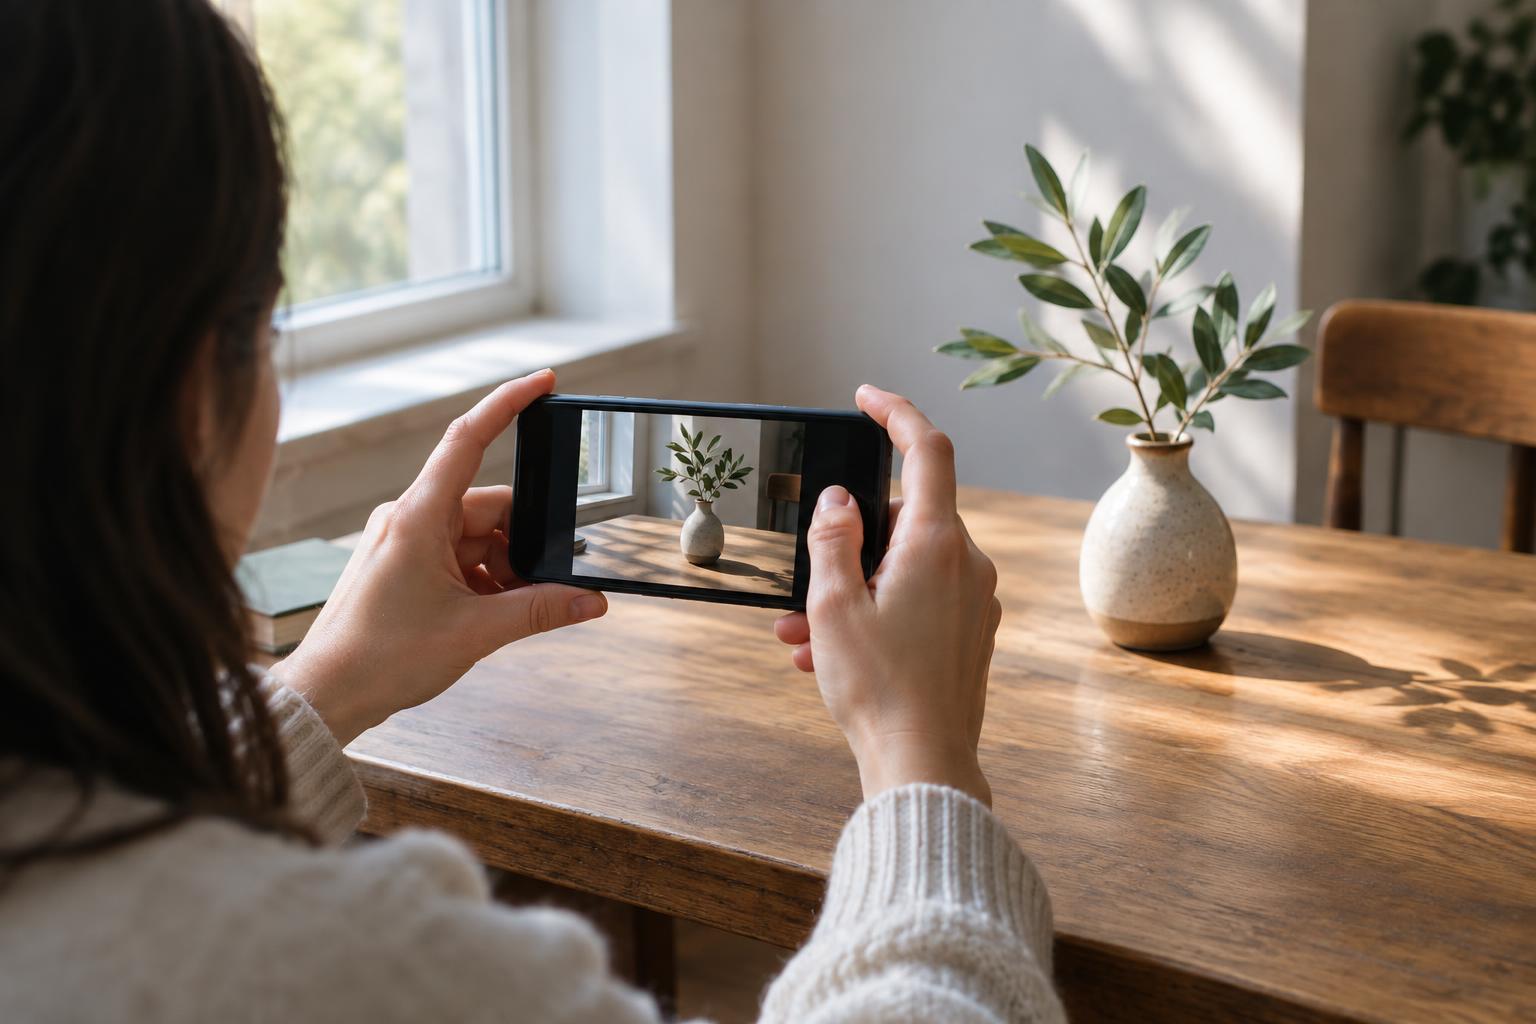
Before buying anything, look at what you already have. A pen and scrap paper are enough for lettering practice or a tiny comic. A phone camera can support a photo series. Old magazines, packaging, or colored paper can become collage material. Using familiar tools keeps the first attempt simple and helps you discover which part of the activity you actually enjoy.
Set a budget that includes permission to stop
Choose a spending limit that feels comfortable for an experiment, including the possibility that you may not continue. Make a short list of supplies required for one project, then separate essentials from upgrades. For a paper collage, you might need paper, something to cut with, and a way to attach pieces. A specialized cutting mat or large set of decorative materials can wait.
If you do need a tool, consider borrowing one, using a shared supply, or buying a small quantity first. Check that any substitute is suitable for the task, especially when cutting, heating, or using adhesives. The goal is not to make the hobby cost nothing; it is to avoid paying for a future version of the hobby before you have tried its basic steps.
Define a first project you can finish
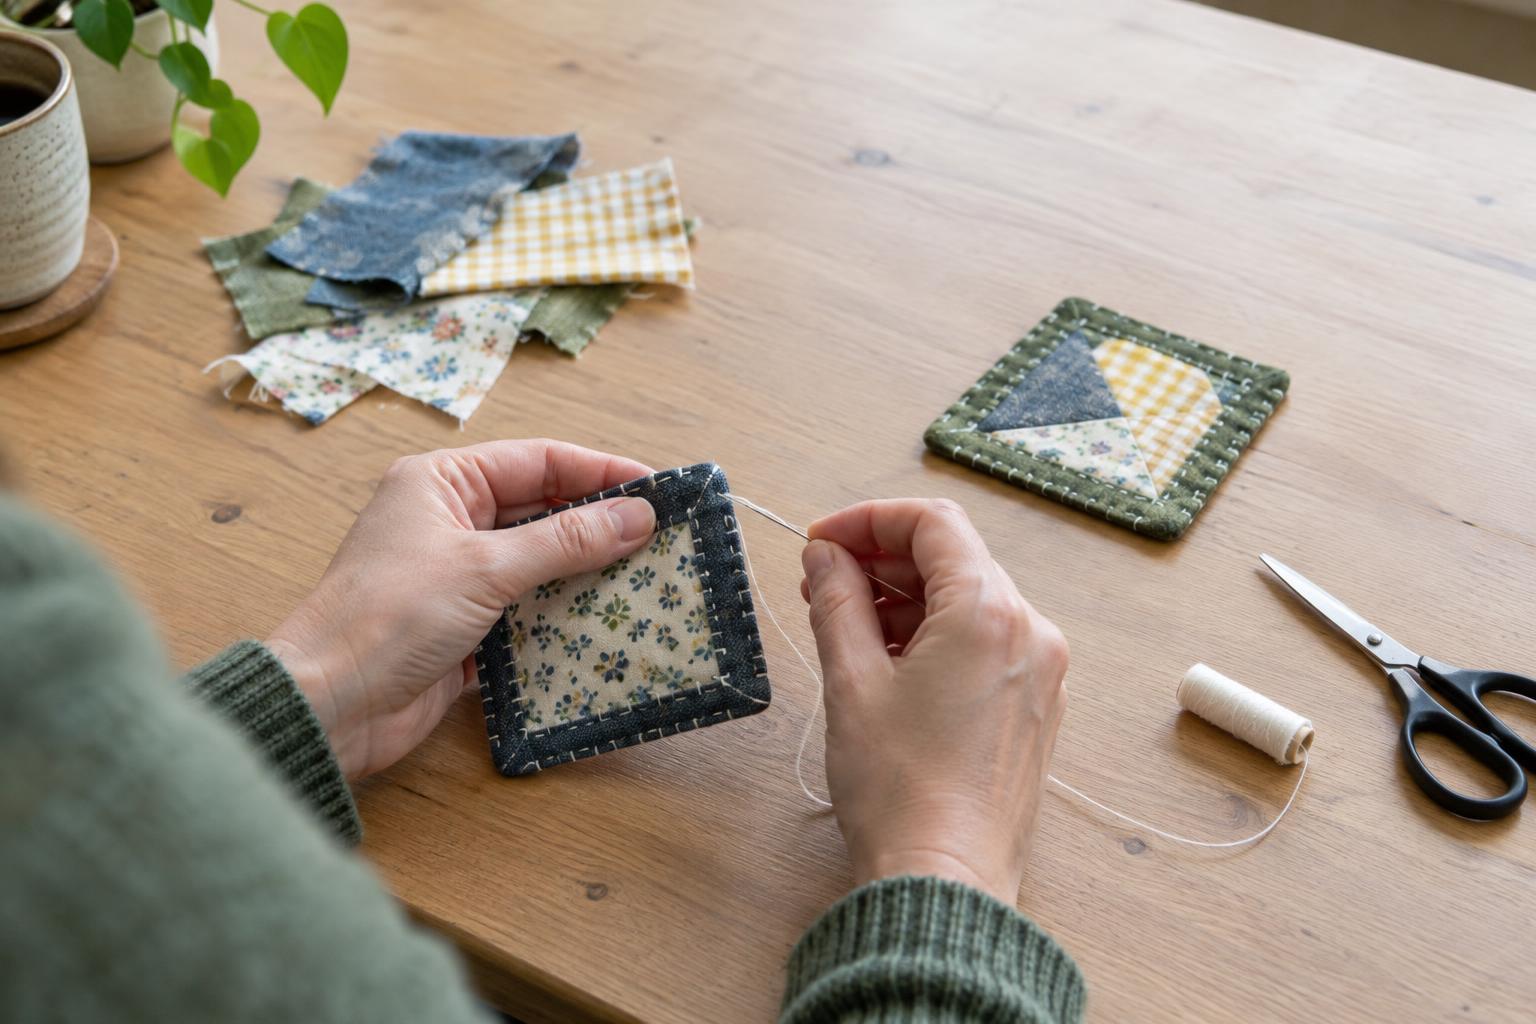
A manageable first project has a clear end point and fits into one or two short sessions. Instead of deciding to “learn drawing,” choose to draw three objects on your desk. Instead of planning a collection of handmade cards, make one card. You are not lowering your ambitions permanently. You are giving yourself a complete cycle of choosing, making, and finishing.
Write the project as a simple instruction: “Make one postcard-sized collage using three colors and materials I already own.” Add a time boundary, such as two 30-minute sessions. Decide in advance what finished means: the pieces are attached, the card is dry, and you have put your tools away. A definition like this prevents minor improvements from stretching a small project indefinitely.
Make room for a rough first attempt
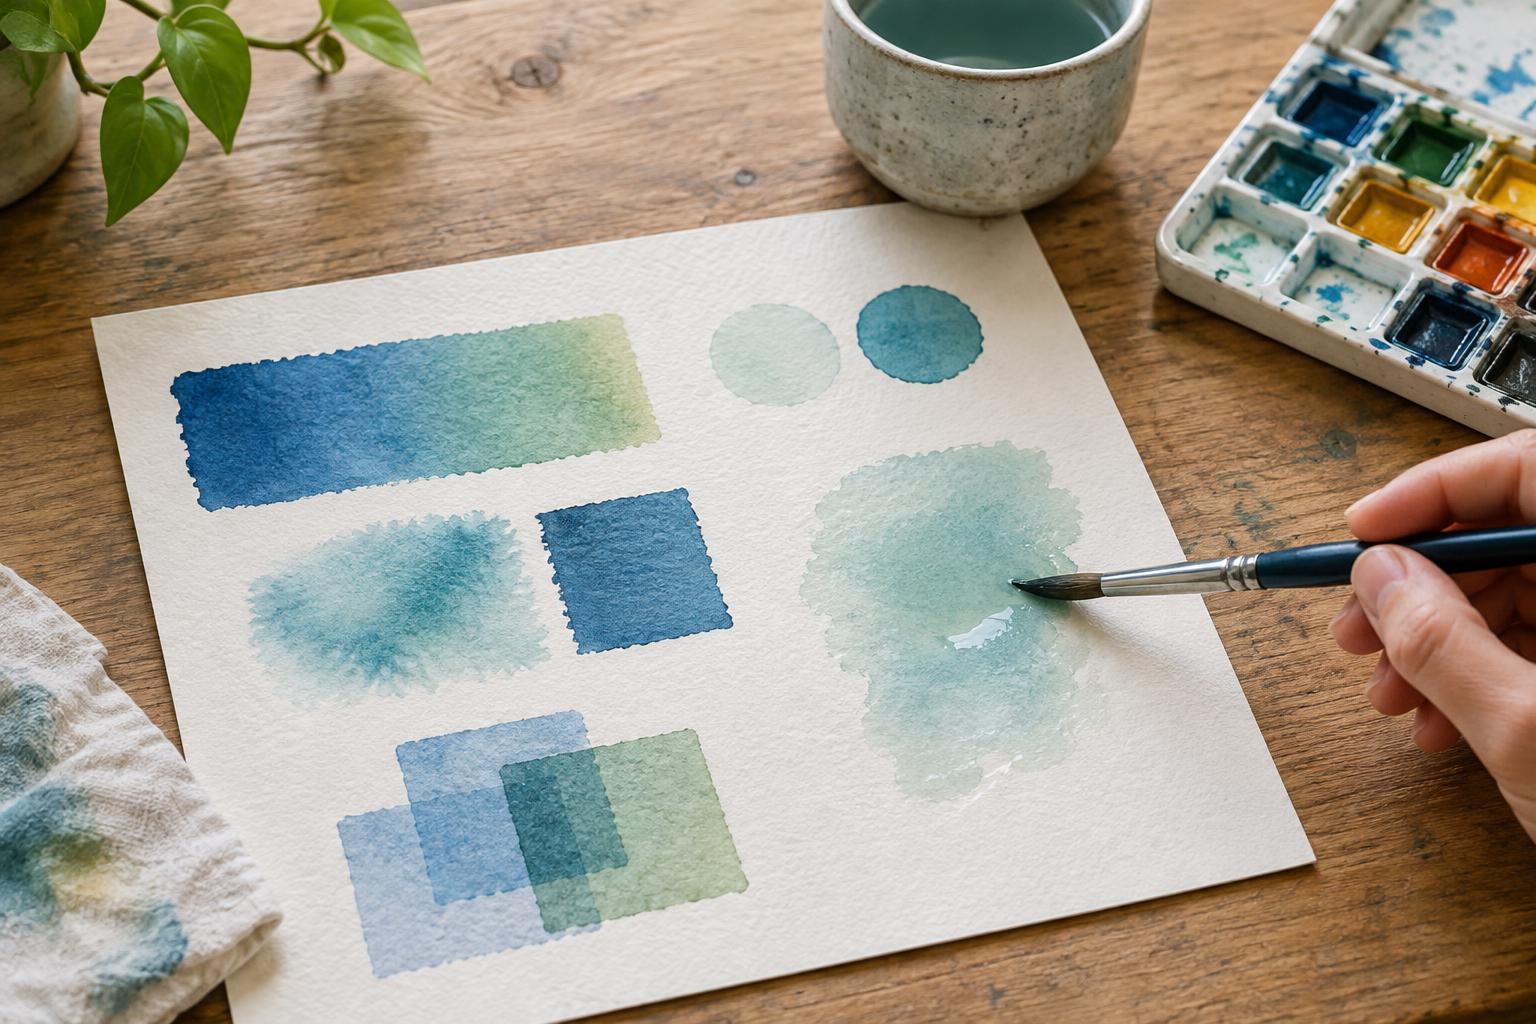
Spend the opening minutes preparing a usable space, then begin before you feel fully ready. If the project has several steps, try the uncertain one on a scrap first: test a pen, arrange collage pieces without gluing them, or take a few sample photographs. These small trials can prevent avoidable frustration without turning preparation into the entire hobby.
When something looks awkward, treat it as information rather than a verdict on your ability. You might notice that you prefer bold shapes to fine details, or that a shorter writing prompt makes it easier to start. Keep moving toward the agreed end point. Your first project only needs to show you what the activity feels like in practice.
Use the finished project to choose your next step
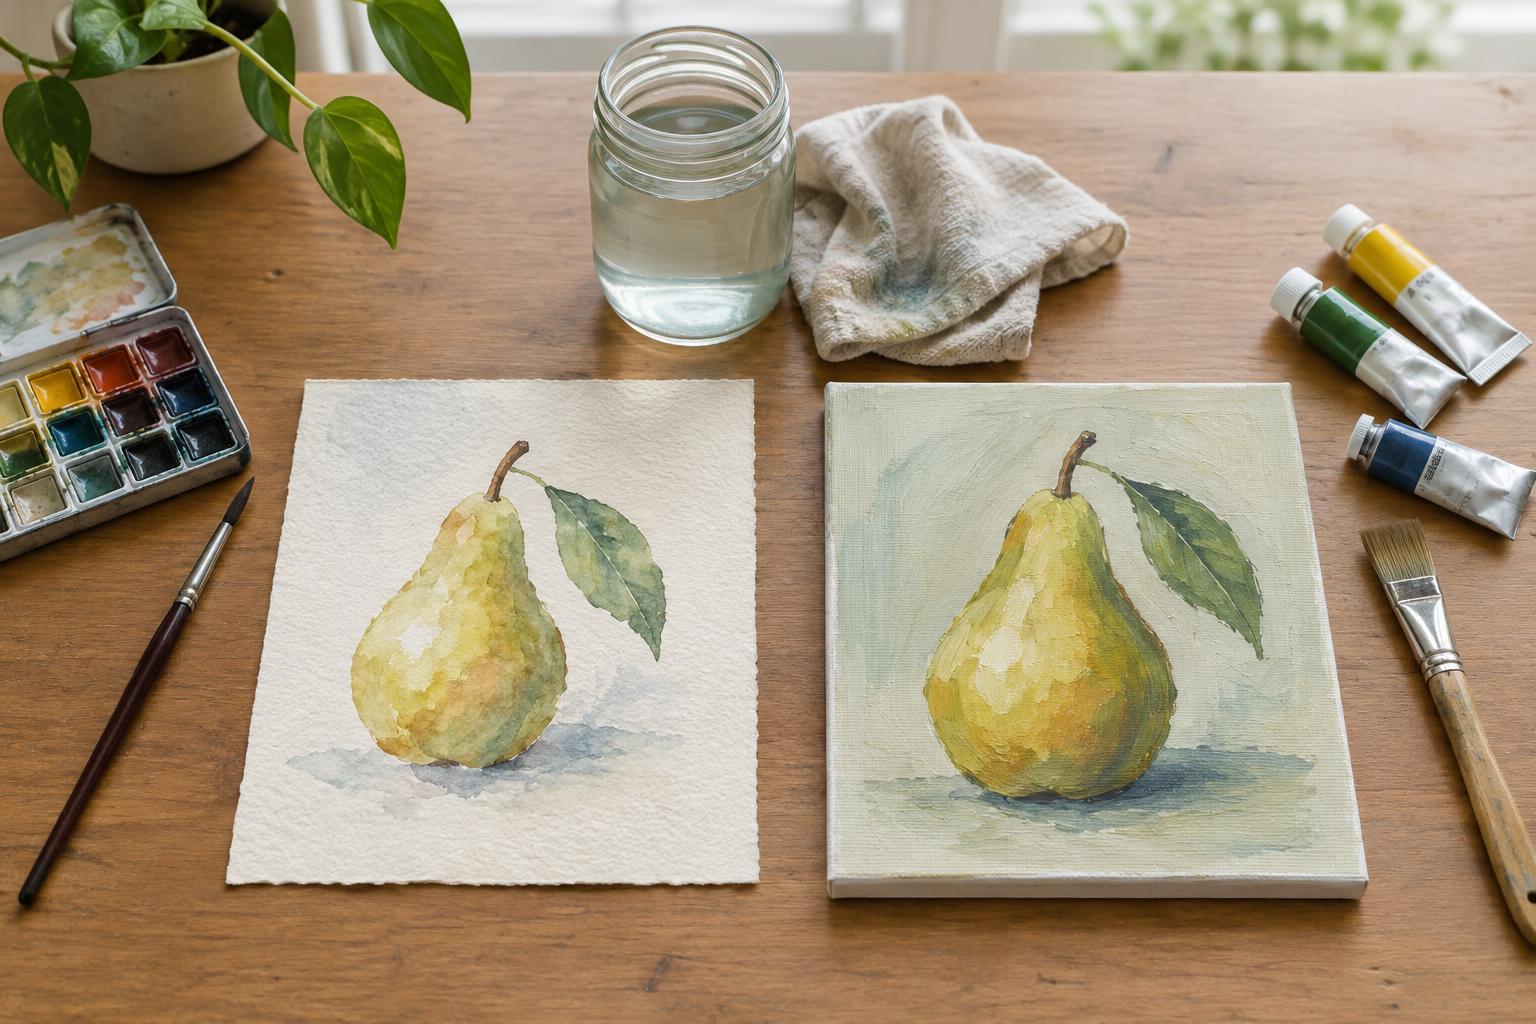
Once you finish, take a few minutes to note what you liked, what was difficult, and what you would change. Be specific. “Cutting small shapes was tiring” is more useful than “I am bad at collage.” If you enjoyed the process, make a second project with one deliberate variation, such as a different size, subject, or color limit.
Delay larger purchases until a repeated need becomes clear. If you have made several projects and keep struggling with the same tool, an upgrade may be worthwhile. If your interest fades, you still gained a low-cost experience and a clearer sense of what to try next. A good beginning is not a promise to become an expert; it is a practical way to make something and decide whether you want to make more.