Set up a subject you can study
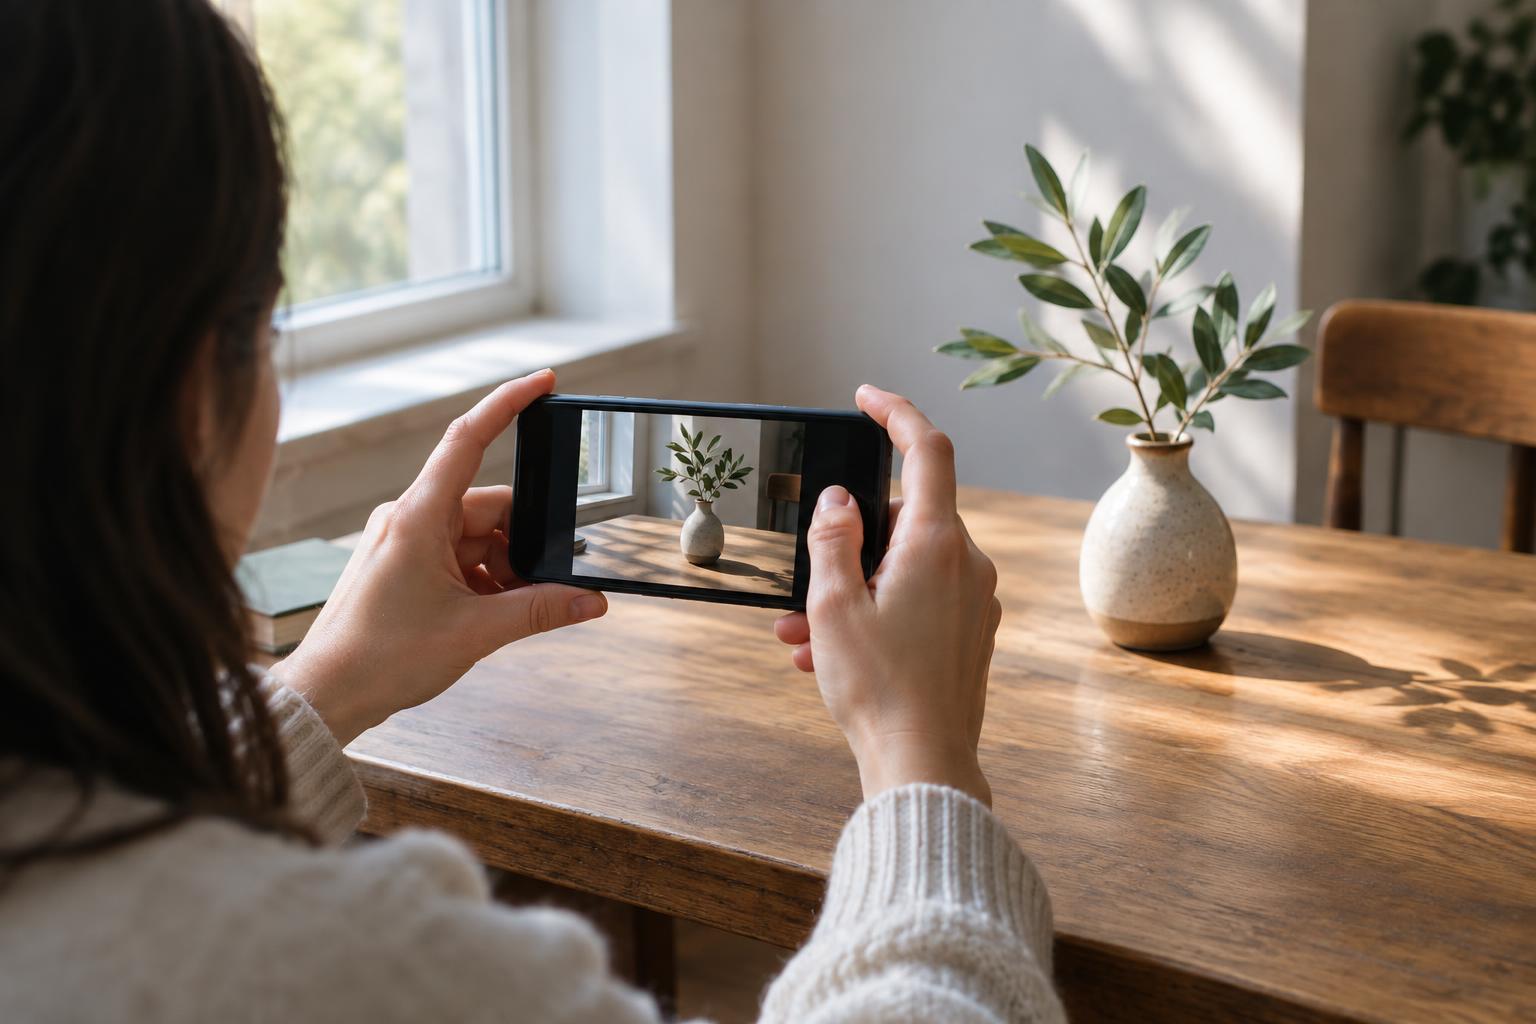
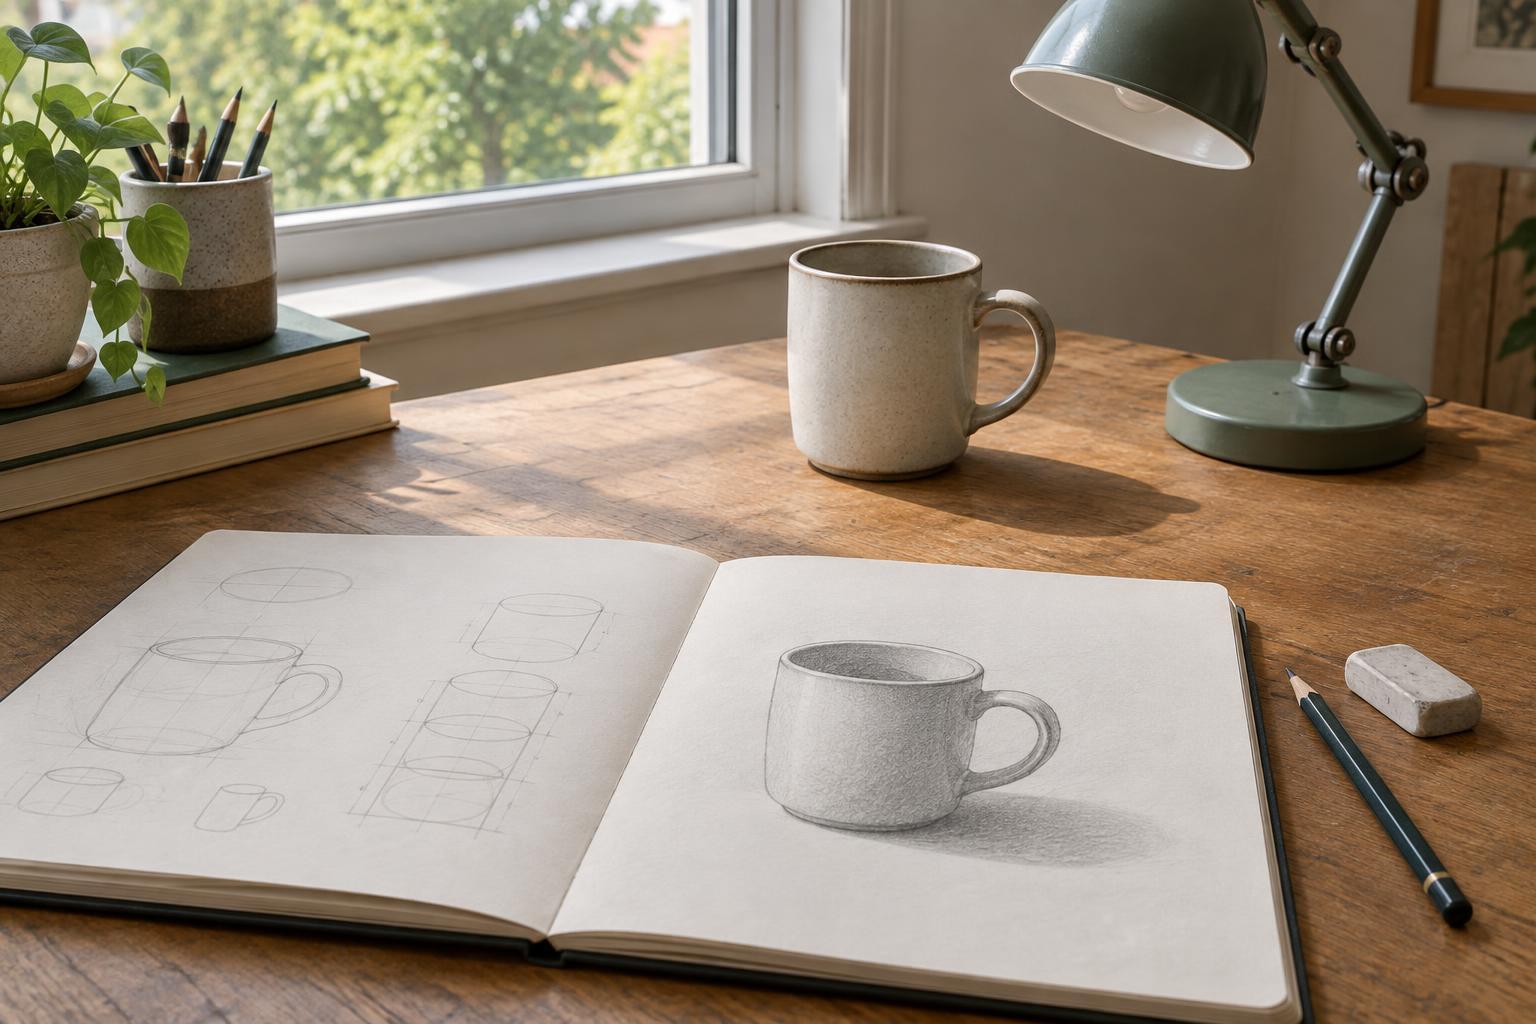
Observational drawing begins with looking at something in front of you rather than drawing what you think it should look like. Choose one or two ordinary objects: a cup, a book, a shoe, or a piece of fruit. Place them where they will not move, and sit in a position you can keep for the length of the session. A pencil, paper, and eraser are enough to begin. A single lamp can make shadows easier to see, but daylight works too.
Start with a short session of about fifteen minutes. Before drawing, spend a minute noticing the object’s widest and narrowest parts, its angle, and the space around it. Resist the urge to name every feature. Instead of seeing “a mug handle,” look for the curved outer edge and the open shape inside it. This shift from naming to noticing gives you more specific information to put on the page.
Build the drawing from simple shapes
Make your first marks light enough to change. Find a few large shapes that describe the object: a rectangle for a book, an oval above a cylinder for a cup, or several overlapping shapes for a shoe. These are temporary guides, not a test of whether you can draw a perfect circle. Leave small details until the overall form sits comfortably on the page.
One useful exercise is to draw only the outside edge, then draw the empty spaces around and within the subject. For a chair, the gaps between its legs may be easier to compare than the legs themselves. You can also imagine a loose box around the whole subject and mark where its top, bottom, left, and right edges fall. Those four marks give you boundaries to work within before you add smaller forms.
Check proportions with comparisons
Proportion is the relationship between parts, not a set of measurements you must get exactly right. Ask questions as you draw: Is the handle roughly half the height of the cup? Does the widest part sit above or below the middle? Where does one edge line up with another? Compare each new part with a larger part you have already sketched, rather than judging it alone.
To practice, draw the same object twice on one page. In the first sketch, work without correcting anything. In the second, pause after the large shapes and check three relationships, such as height to width, the angle of the top edge, and the position of a handle. Hold your pencil upright at arm’s length to compare visible lengths or angles if that helps. Keep your arm position consistent while comparing; the pencil is a rough guide, not a measuring instrument.
Use shading to show light and form
Once the main shapes are in place, identify the lightest area, the darkest area, and a middle value. Value means how light or dark something appears. Squinting can make small details less distracting and help you see these broad areas. Begin with a light layer of pencil across the midtones, leave the brightest paper mostly untouched, and deepen the dark areas gradually. Try to shade in groups of similar value rather than outlining every patch of shadow.
Pay attention to the shadow the object casts as well as the shadows on its surface. A cast shadow can help show where an object rests and which direction the light comes from. Its edge may look sharper near the object and softer farther away, depending on the light. For a focused exercise, make three small sketches of the same subject using only three values: white paper, a middle gray, and a dark gray. This limits your choices and encourages you to look for the largest light-and-dark patterns.
Review what you noticed, then repeat
A useful review is specific and brief. Set the drawing beside the subject and choose one thing that matches your observation and one thing to check next time. Perhaps the overall tilt feels right, but the base is too wide. You do not need to fix every mark. If you want to revise, make the correction lightly or try a fresh sketch so you can see how your decisions changed.
Keep a few dated pages of the same simple subject. Repetition makes it easier to notice differences in your looking, even when individual drawings feel uneven. Rotate the object, move the light, or draw it at a different size to create a new challenge. The aim is not to produce a polished picture each time. It is to build the habit of observing, comparing, and making deliberate marks.