Start with the work, not the room
A project can feel hard to begin when there is no dedicated place for it. But a permanent workspace is not always necessary. A table, a corner of a room, or a clear patch of floor may be enough if it supports the task you are doing now. The useful question is not “Where can this project live forever?” but “What space does the next work session actually need?”
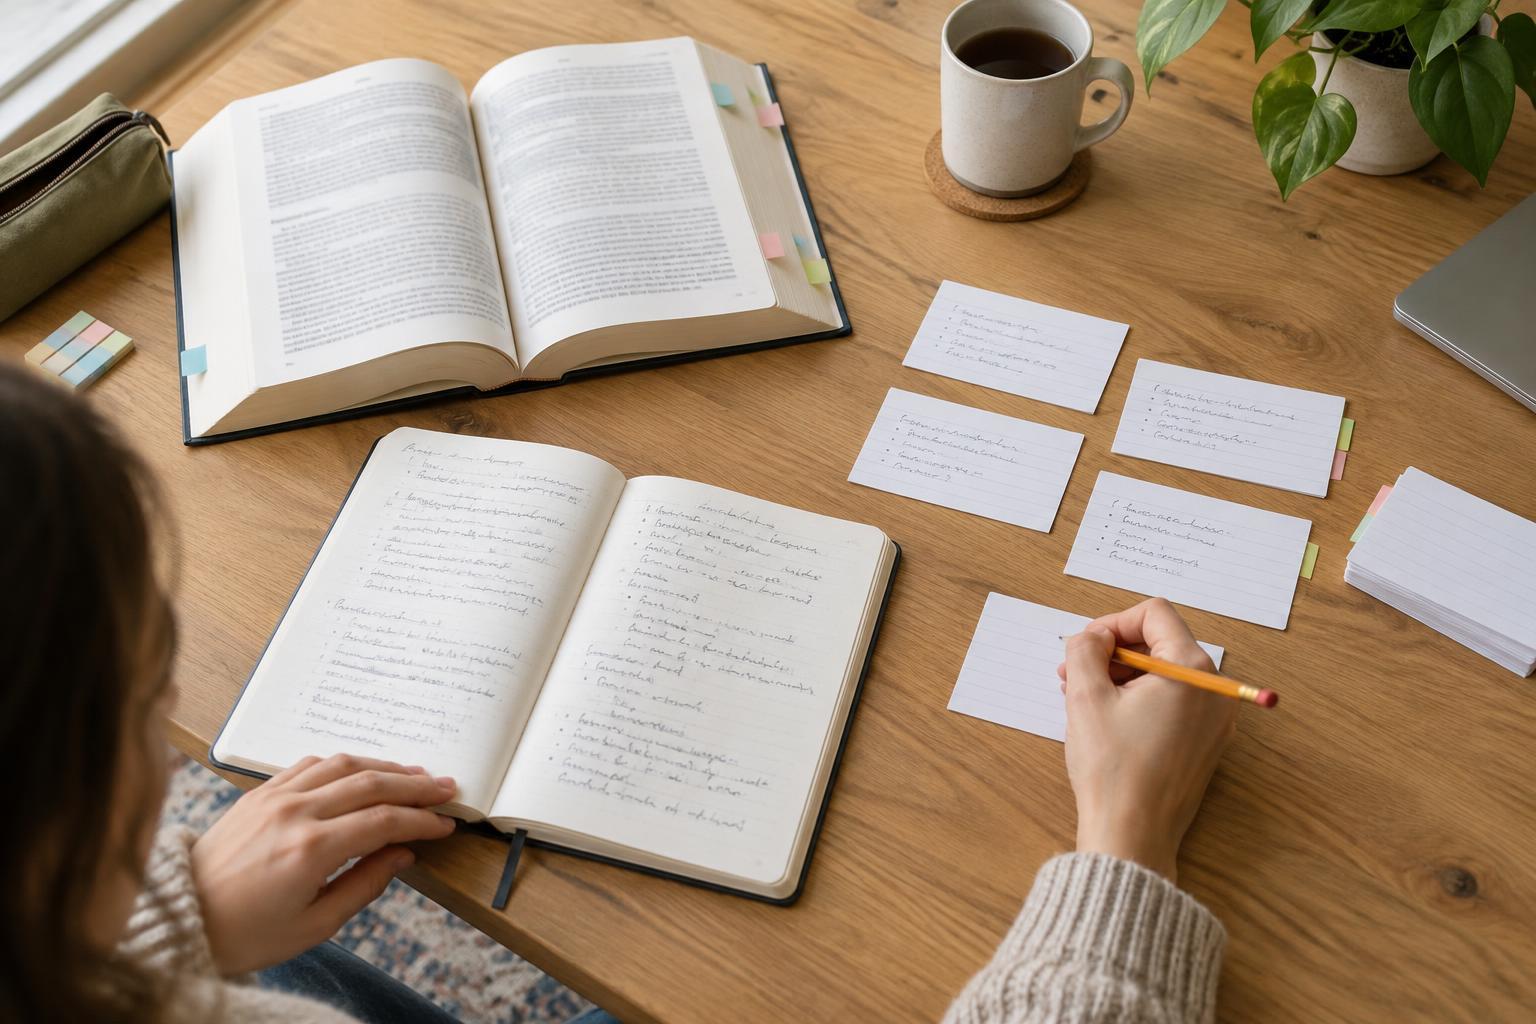
Write down the activities involved: measuring, sorting, assembling, writing, drying, or reviewing. Each may need a different surface or amount of time. Sorting photographs might fit on a desk for an hour; painting an object may also require somewhere it can remain undisturbed afterward. Separating these needs helps you avoid claiming more space than the project requires.
Set boundaries before you unpack
Decide what area the project can occupy and when that area needs to be available again. In a shared home, this may mean clearing the dining table before a meal or leaving a walkway open. A boundary is easier to follow when it is specific: one end of the table, one shelf, or one portable tray. It also makes it easier for others to know what can be moved.
Check the practical limits of the spot before setting up. Is there enough light to see the work? Will you need an outlet, ventilation, or a surface that is easy to clean? If a task cannot be done comfortably and appropriately in the available space, change the task or location rather than forcing it into a poor setup. Some activities are better saved for a more suitable place.
Give the project a portable home
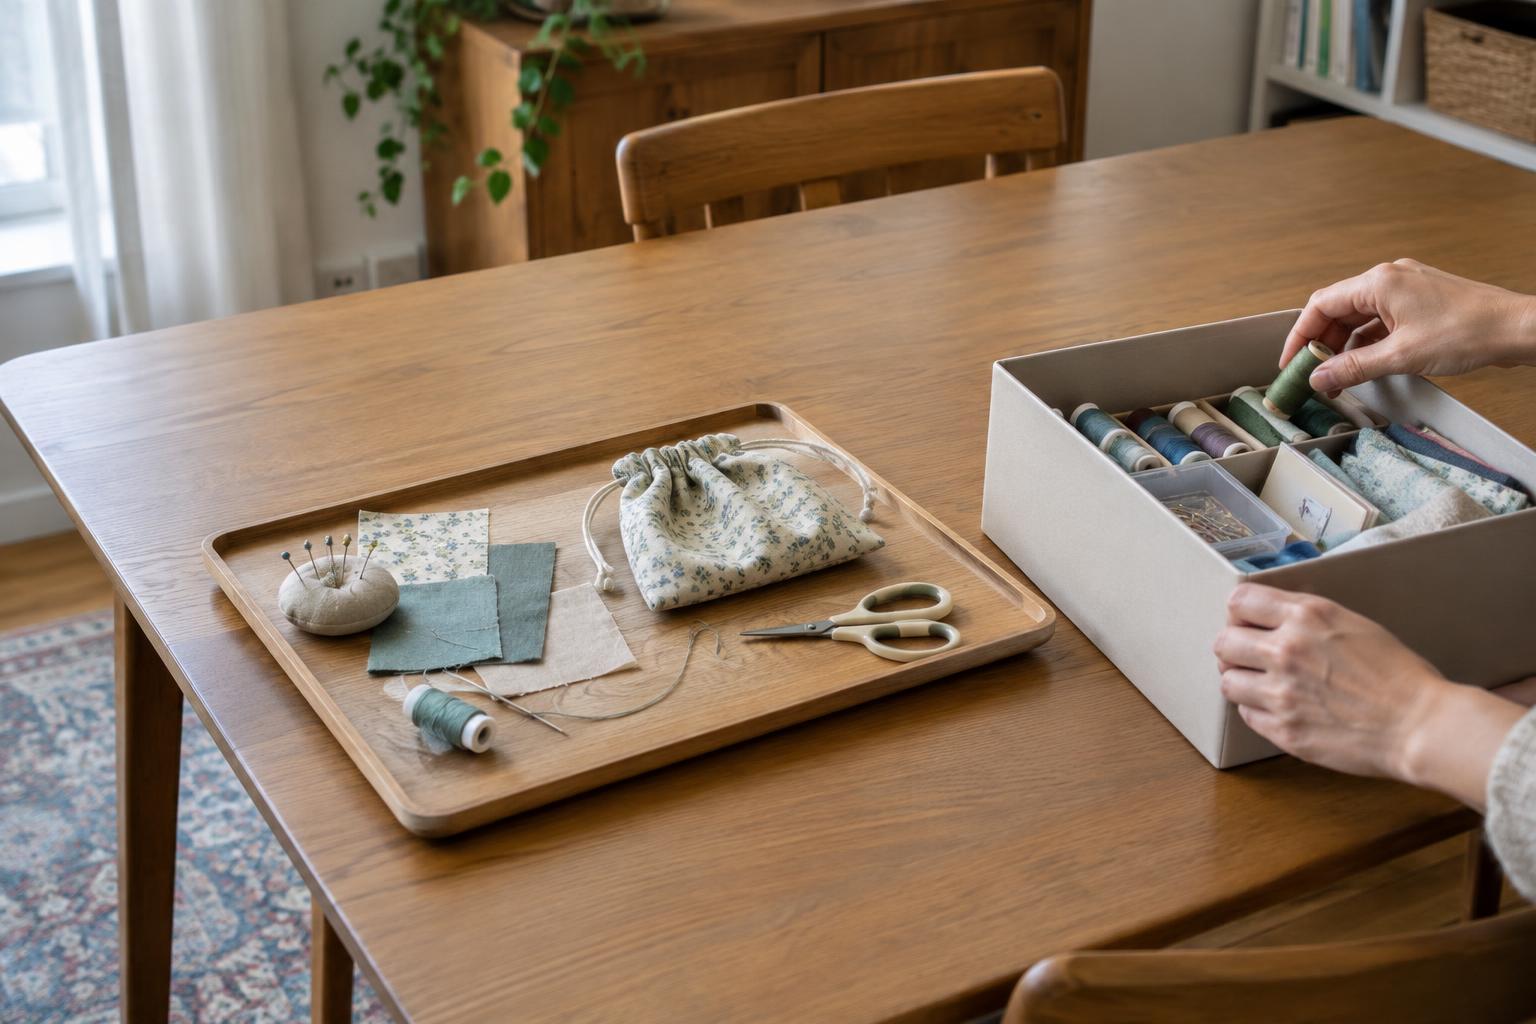
Use one box, bag, folder, or tray to hold the materials needed for the current stage. Keep small items together in containers that close, and label anything that would be difficult to identify later. The aim is not to build an elaborate storage system. It is to make it possible to put the project away without losing a part or forgetting which supplies belong to it.
Keep unfinished work separate from general household storage when you can. A folder can hold sketches and receipts; a shallow box can protect pieces waiting to be assembled. If an item needs to dry, cure, or stay flat, identify a suitable place for that step before you begin. A portable home works best when every part of the project has somewhere to go at the end of a session.
Reserve time for putting things away
A thirty-minute project session is not thirty minutes of hands-on work if the table must be cleared afterward. Set aside a few minutes to stop, secure the work, and restore the space. This is part of doing the project, not an interruption to it. Planning for cleanup can make a short session feel worthwhile because you know you can finish it without leaving a mess for later.
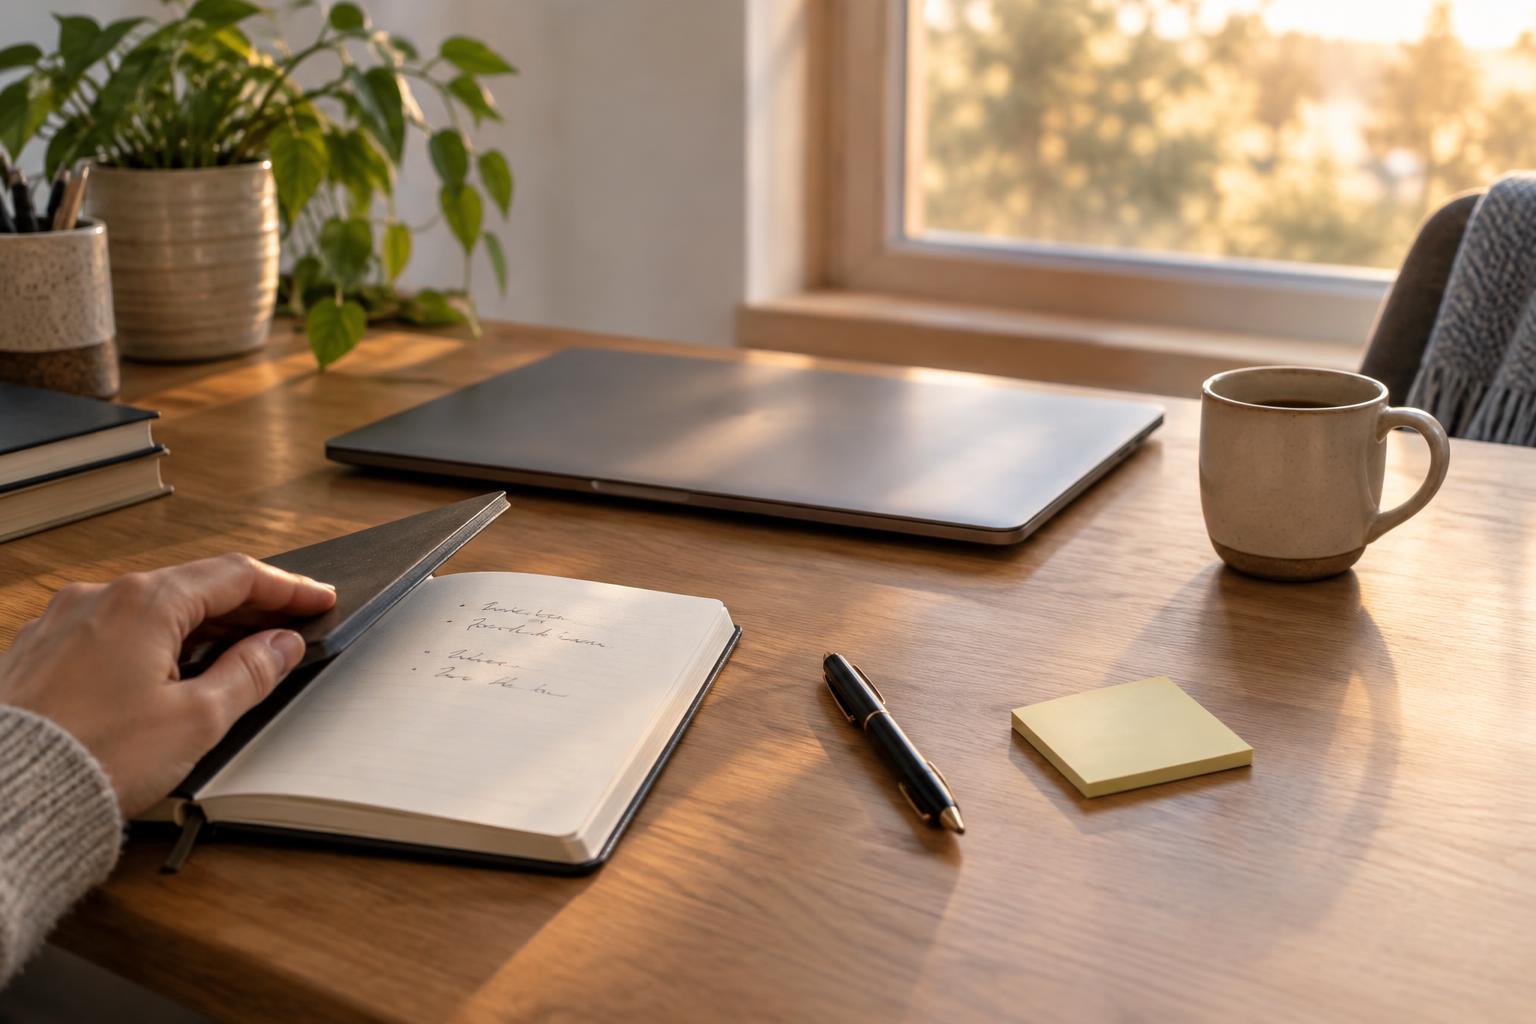
Before packing up, leave yourself a brief note with three things: what you completed, what needs attention, and the first action for next time. For example: “Pieces cut; check their order; then attach the first two.” Keep the note with the materials. It should be short enough to write even when you are tired, and clear enough that you can act on it after a break.
Adjust the setup after a few sessions
Notice what repeatedly slows you down. Perhaps you spend ten minutes finding scissors, the storage box is too heavy to move easily, or you keep running out of clear surface. Change one part of the setup at a time. Put the frequently used tool in the top of the box, divide the materials into smaller containers, or choose a task that fits the space you have that day.
A workable project space does not have to look impressive. It needs to let you start, make progress, and leave the area in a state that works for everyday life. When setup and cleanup are manageable, you have more opportunities to return to the project—even if your workspace is also the place where you eat, work, or spend time with others.