Start with one shape and one sheet
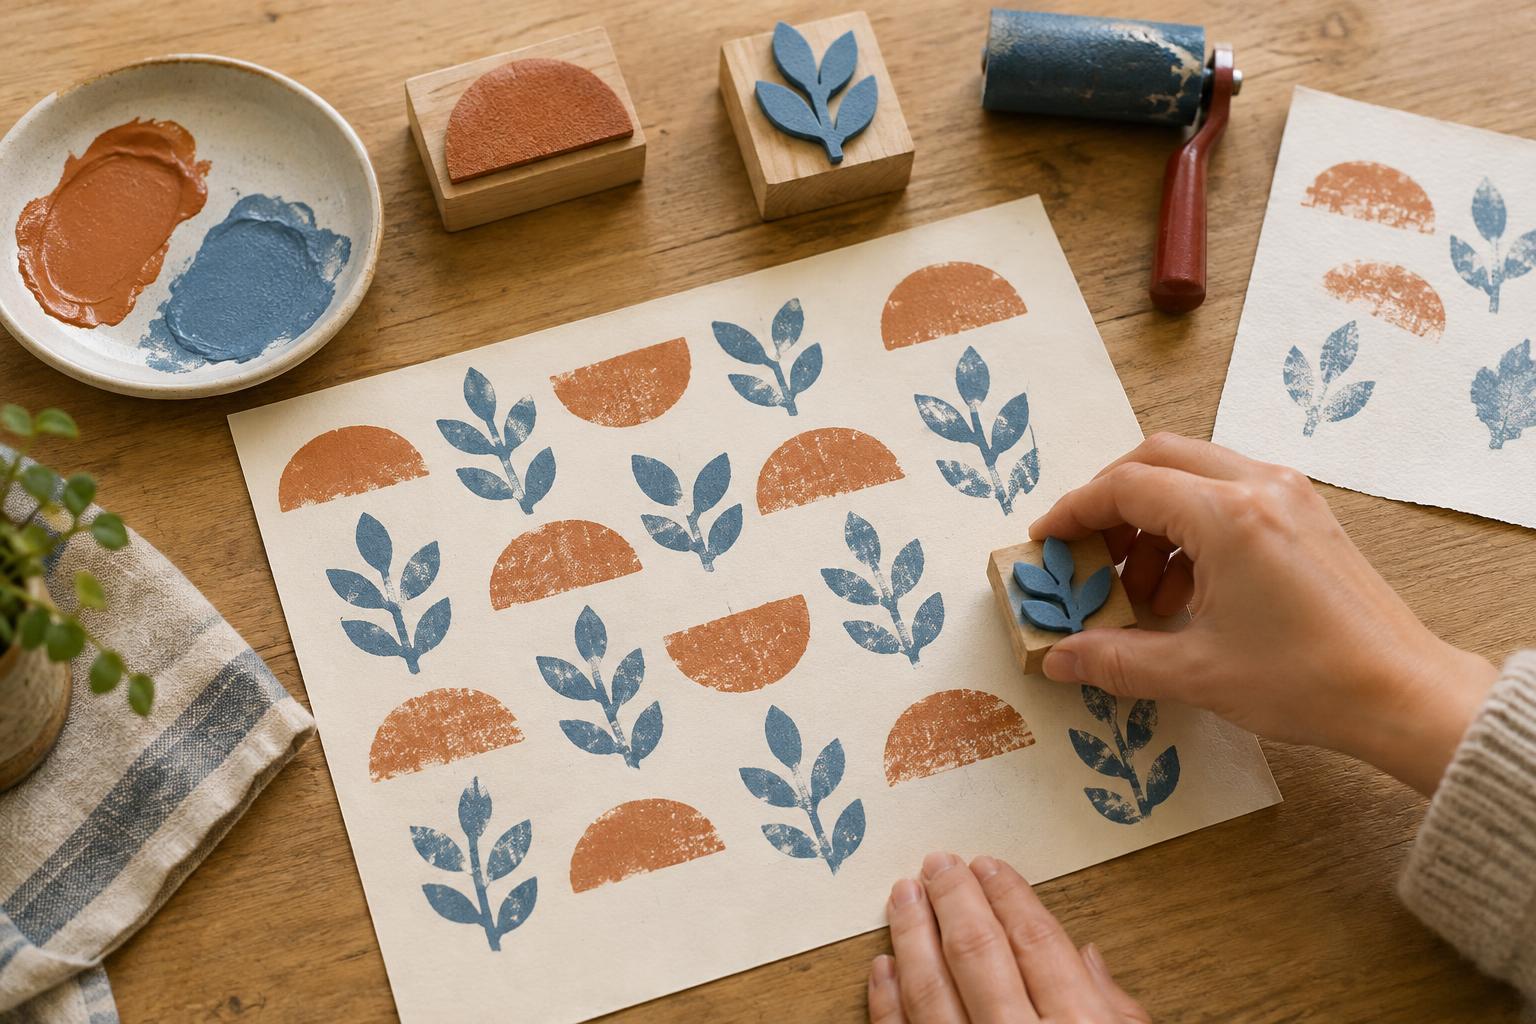
A repeating pattern is a good small project because it gives you many chances to try an idea without requiring a perfect first impression. The aim is to make one or two stamps, test them, and fill a sheet of paper with a pattern you enjoy looking at. Simple shapes often work best: a leaf, a semicircle, a short line, or an uneven dot can become interesting through repetition.
Gather a sheet of craft foam, scissors, a piece of sturdy cardboard for each stamp base, glue, scrap paper, a sponge or small brush, and water-based craft paint. Choose paper that can handle a little paint without tearing easily. Cover your work surface and keep a damp cloth nearby. If you want to use the finished sheet for wrapping or a card, practice on scrap paper first.
Make a stamp that is easy to hold
Draw a shape on the foam and cut it out. For your first stamp, choose a shape without thin points or tiny interior details. Glue it to a cardboard base that leaves room around the edges for your fingers. Let the glue set before printing so the foam does not slide as you lift the stamp.
Consider making a second, smaller stamp that can sit between impressions of the first. A dot or dash is enough. You do not need to plan the whole pattern yet; the second shape simply gives you a way to adjust empty spaces later. If you make a directional shape, such as an arrow or a letter, remember that its printed impression will be reversed.
Test the paint before printing a pattern
Spread a small amount of paint on a washable plate or other suitable surface. Dab the sponge into it, then tap a thin, even layer onto the raised foam shape. Press the stamp straight down on scrap paper with gentle, steady pressure, and lift it straight up. Rocking the stamp may blur its edges. If the impression looks patchy, try a little more paint or firmer pressure. If paint gathers around the shape, use less.
Make several test impressions before judging the stamp. Small changes in paint and pressure can affect the result, and an imperfect edge may suit a handmade pattern. Notice which parts print consistently. If a piece of foam repeatedly fails to touch the paper, check that it is firmly attached to the base. Let a wet test print dry before drawing conclusions about its final color.
Build a repeat without making it rigid
Choose a simple rule for your first full sheet. You might place the main stamp in rows, turn it a quarter turn each time, or alternate its direction from one impression to the next. Light pencil marks on scrap paper can help you practice spacing, but you can also work by eye. Start near one edge and leave enough room for a complete impression before adding the next.
Print a few shapes, then pause and look at the spaces between them. Those spaces are part of the design. If one area feels crowded, leave a wider gap nearby rather than trying to force every impression into a strict grid. Use the small stamp sparingly to connect areas or fill gaps. Give the sheet time to dry before adding another color, particularly if you want the shapes to remain distinct.
Use the first sheet to plan the next
A test sheet can tell you more than a carefully imagined plan. Step back and ask one specific question: does the pattern feel too dense, too uniform, or too scattered for the effect you wanted? Change only one thing on the next sheet, such as the distance between stamps or the direction of every second shape. Keeping the other choices steady makes the difference easier to see.
Keep a piece you like as a reference, even if it has an uneven impression. You can use the printed paper as a gift tag, a notebook cover, or simply a record of an experiment. Once you are comfortable with one stamp and one color, try overlapping two simple shapes or printing on a different paper. The useful skill is not flawless stamping; it is learning how repeated small choices create a whole design.