Decide what “finished” means
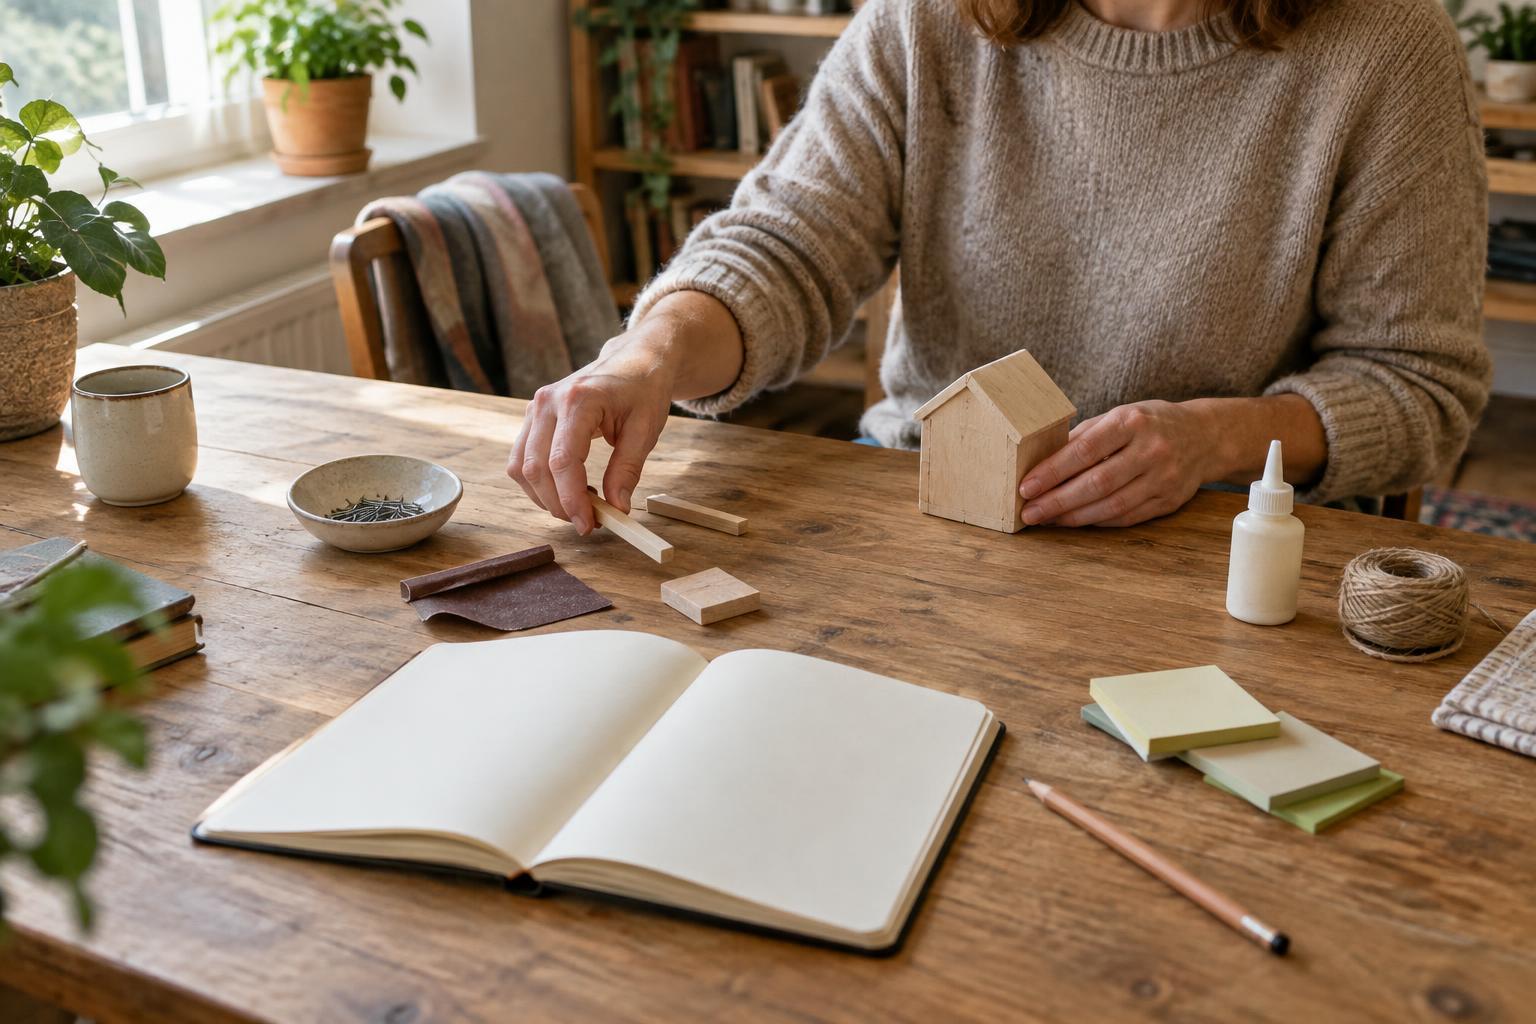
A personal project often ends gradually. The shelf is assembled, the photo album is printed, or the website page is published, but tools, scraps, open tabs, and small decisions remain. Before moving on, write a brief finish line: what must work, what must be put away, and what information you may need later. This keeps closeout from becoming an endless search for perfection.
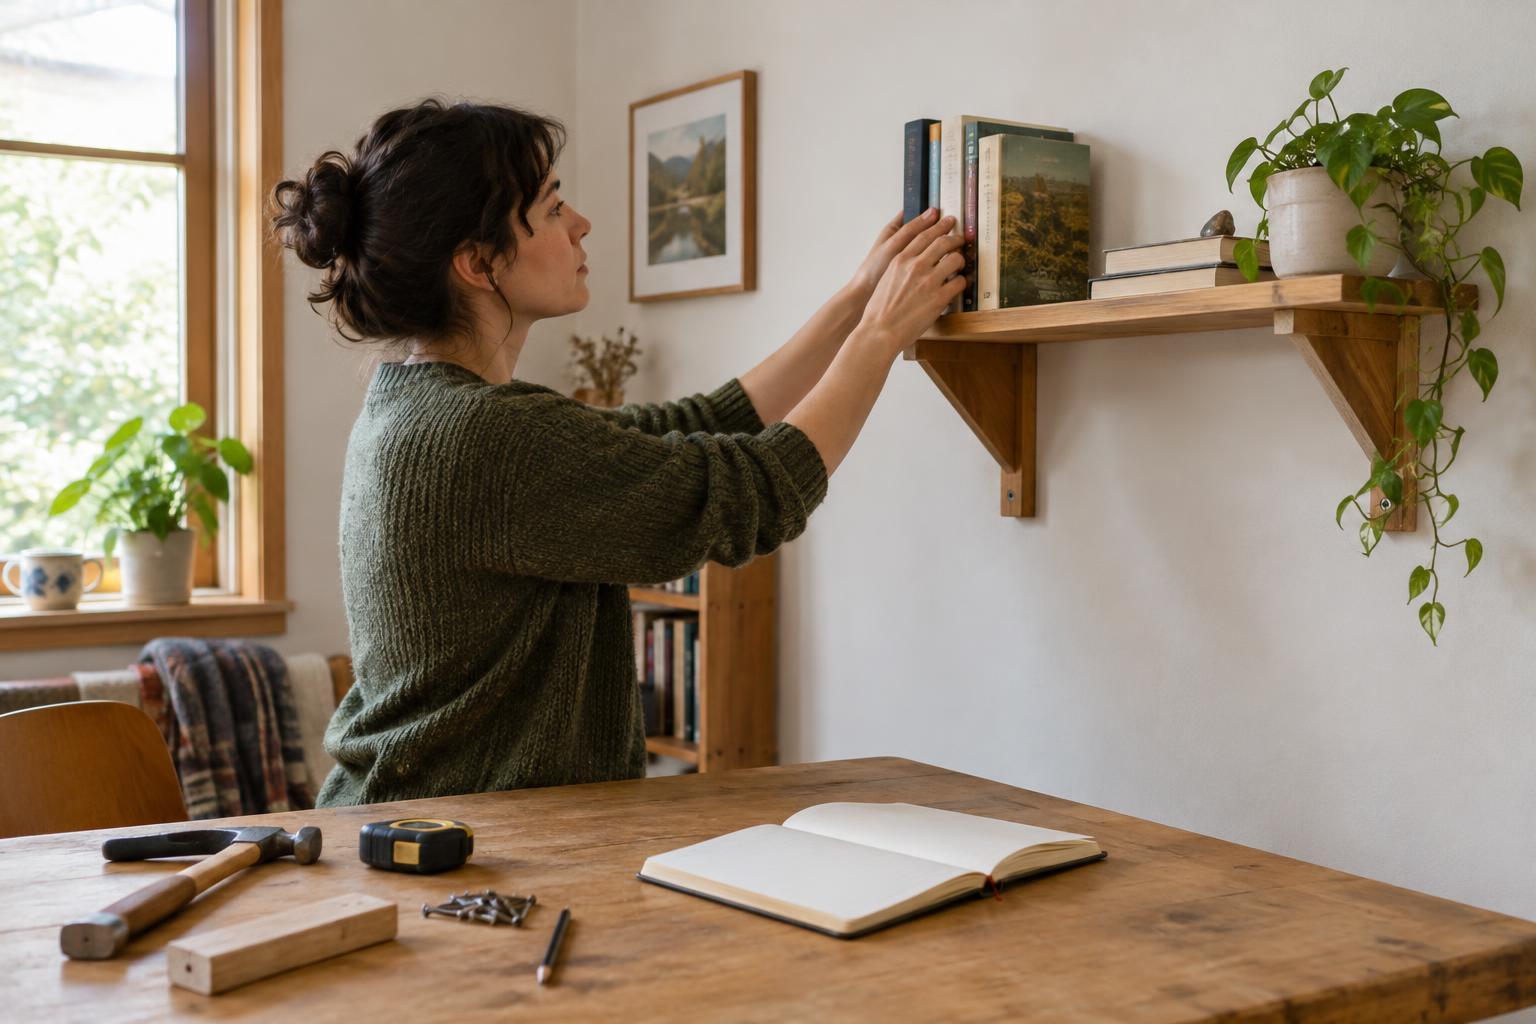
Take one last look at the result in ordinary use. Open and close the shelf’s drawers, turn through the album, or view the page on a smaller screen. Note any defects that affect use, then separate them from optional improvements. Fix important issues now if you can. Put enhancements on a future list rather than letting them prevent you from calling the current project complete.
Reset the space before sorting the leftovers
Start cleanup by making the area safe and usable. Put away sharp tools, unplug equipment that is no longer needed, and clear walkways. Collect rubbish and recyclable packaging separately where practical. If a project involved paint, adhesives, batteries, or other materials with handling requirements, follow the product instructions and local disposal guidance rather than treating everything as ordinary household waste.
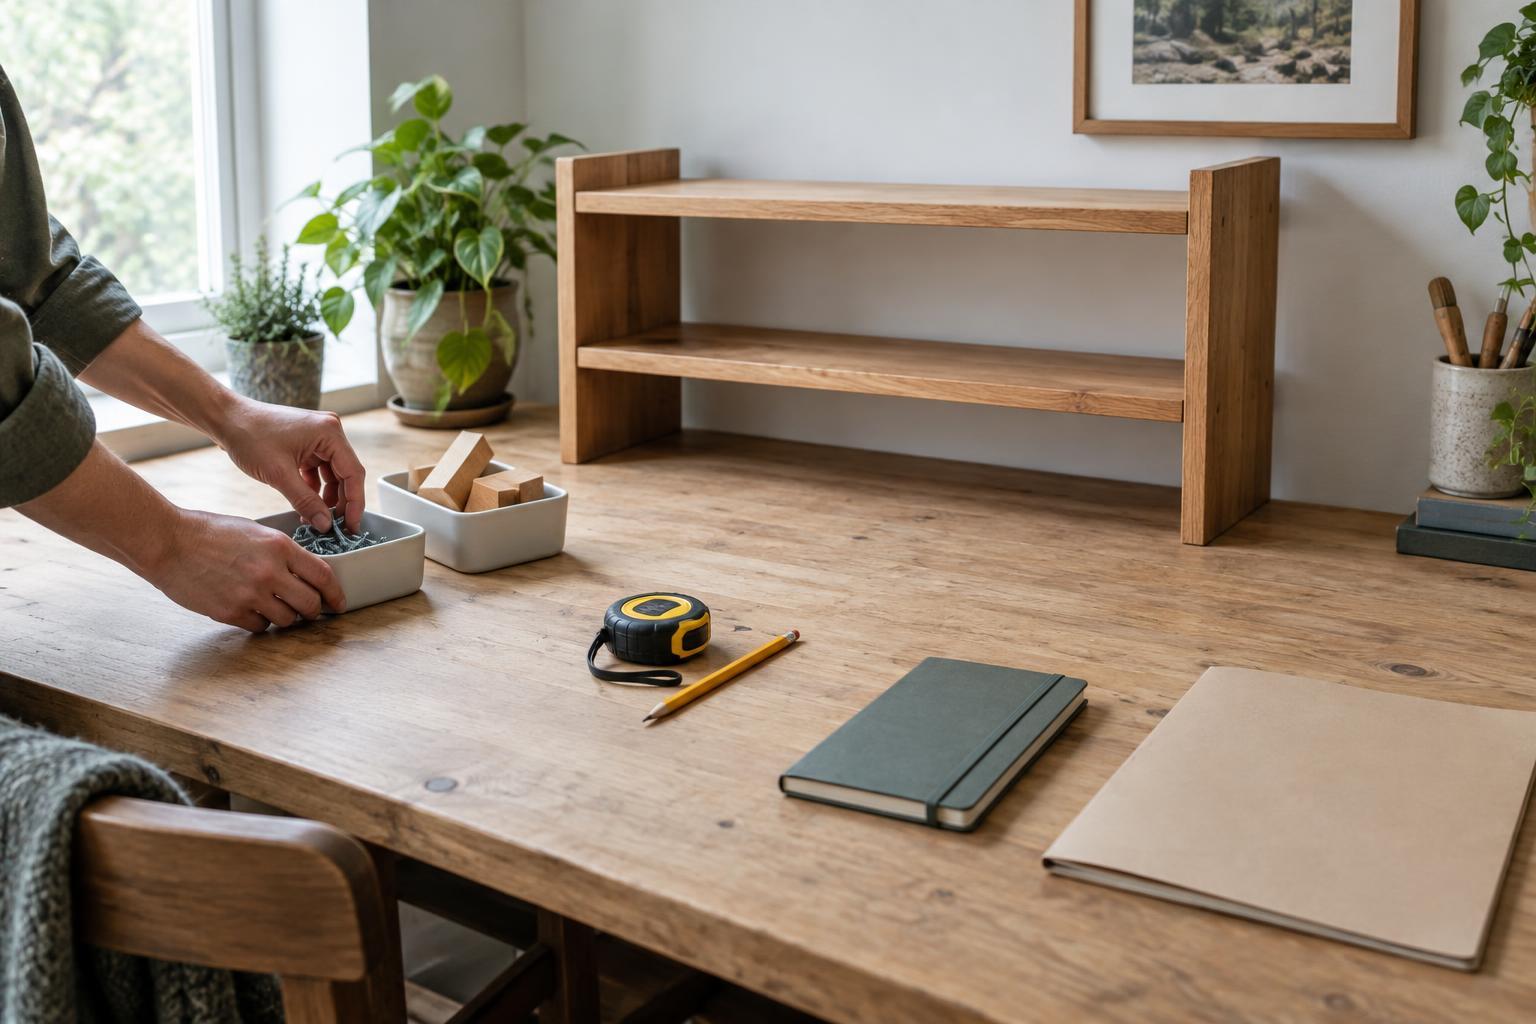
Then return borrowed items and move your own tools back to their usual places. A quick wipe-down and a check under tables or behind furniture can catch small parts before they disappear. For a digital project, the equivalent reset might mean closing temporary tabs, removing duplicate downloads, and clearing a crowded desktop. The aim is not a spotless environment; it is a workspace ready for its next use.
Give leftover materials a clear destination
Leftovers are easiest to manage when you sort them soon after the work ends. Make four groups: keep for a likely use, return, pass along, and discard appropriately. Be specific about the first group. A few screws that fit a piece you own may be worth labeling; an unmarked container of assorted hardware may simply shift the sorting task to your future self.
Store anything you keep so that you can identify it without reopening the whole project. Label paint with the room or object it was used on, bundle matching fabric pieces, or place spare fittings in a small bag with the relevant instructions. Check whether materials have storage limits or need to be kept away from heat, moisture, children, or pets. If you cannot name a realistic use or suitable storage place for something, consider whether keeping it is helpful.
Save records that answer future questions
You do not need a full archive for every project. Keep the information most likely to help with repairs, repeat work, or handoffs: final measurements, product names, settings, receipts or instructions you expect to need, and a few clear photos of the finished result. For a creative or digital project, save the final version separately from drafts and include any files needed to edit it later.
Choose one obvious home for these records, such as a labeled folder or notebook page. Use names that make sense out of context: “hall shelf measurements” is more useful than “notes final 2.” If several people share the result, tell them where essential instructions live. A short note on what changed from the original plan can also prevent confusion when you revisit the project months later.
Close with a brief review
Once the space and records are in order, spend a few minutes reviewing the process. Ask what took more time than expected, which supplies you overbought, and what you would do differently next time. Keep the answers short and concrete. “Measure the doorway before buying boards” is easier to act on than “plan better.”
Finally, decide whether anything remains open. Add genuine follow-up tasks to your usual task list, with enough detail to act on them; do not rely on a pile of materials as a reminder. Then let the project be done. A useful closeout makes the result easier to enjoy and gives your next project a clearer starting point.